For all of its criticisms, social media is a lot of fun. How many things have we learned or discovered by mindlessly scrolling through Reels or TikTok? Having plumbing issues? Need lawn care help? Want to find new life hacks for almost anything? There’s a funny video out there that will help you. The same goes with coffee and finding new ways and places to brew coffee … including in (or on) a 10 qt Stanley Classic lunch box.

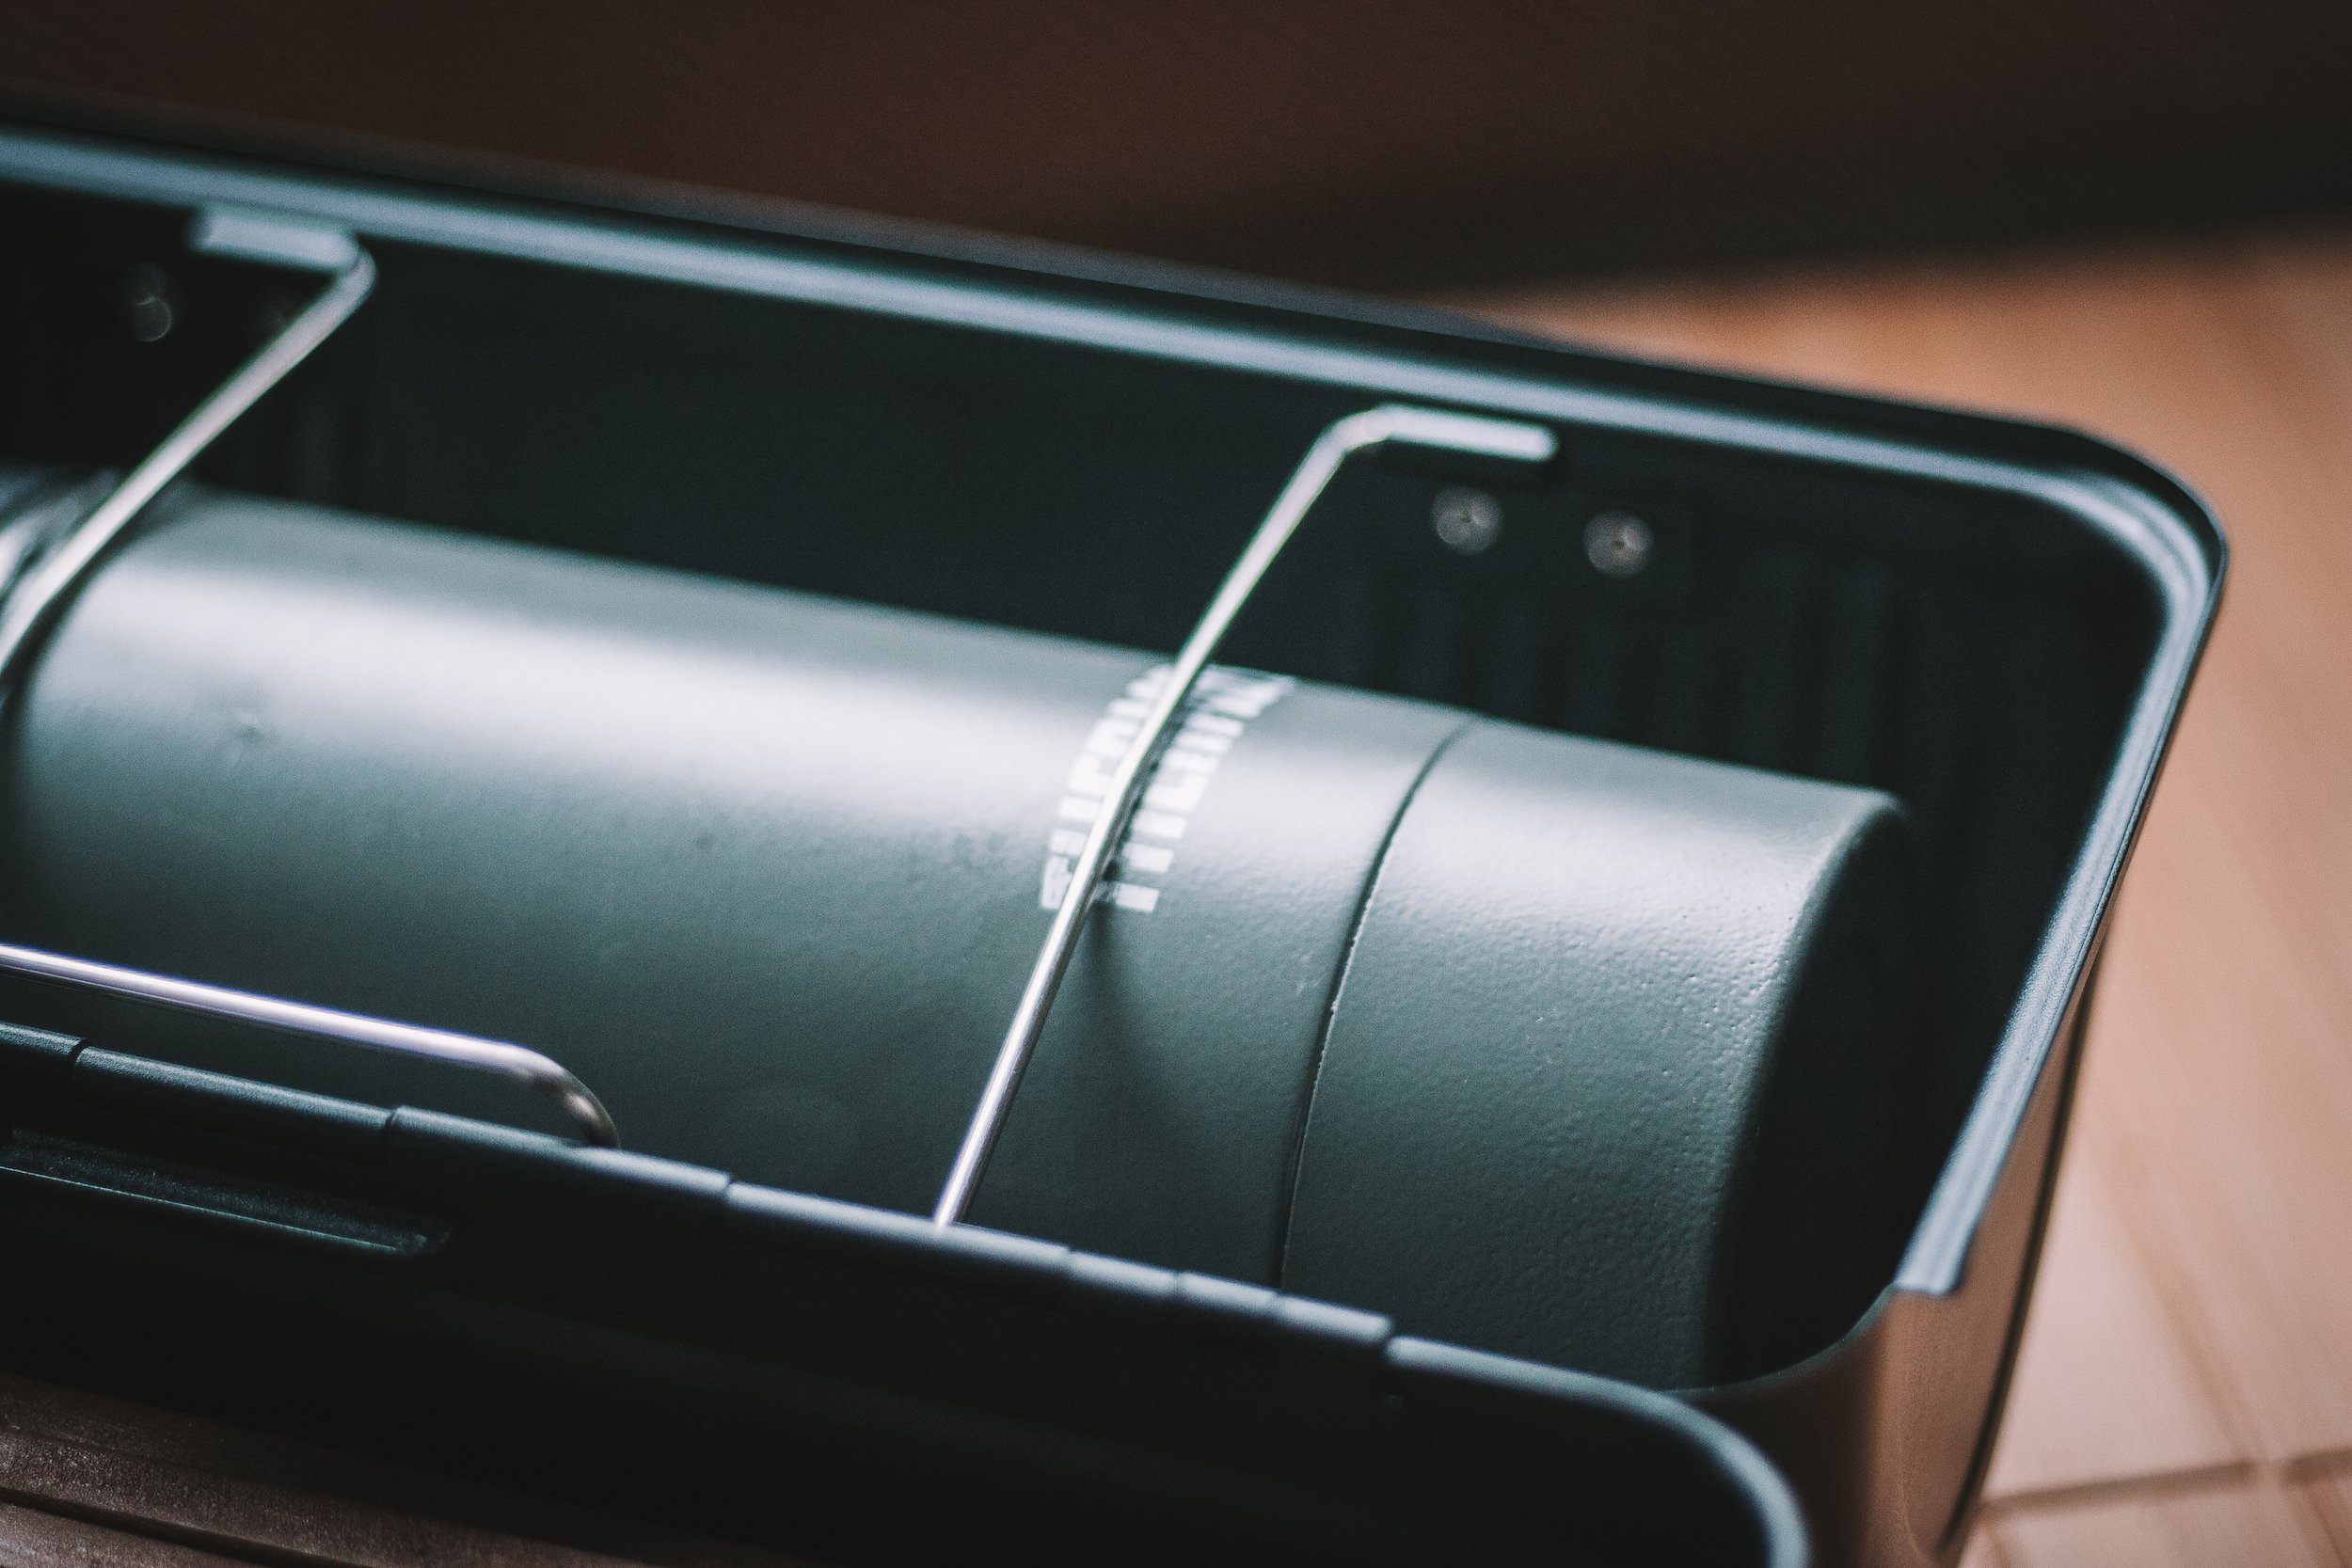
Around the same time I was given a $50 Amazon gift card, I kept seeing videos of people packing everything they needed to brew coffee in a metal Stanley lunch box. One can buy custom collapsible wood platforms to set up a brilliant brewing station right out of the lunch box. I knew in that moment I had to give it a try.
When I road trip in Nacho the Van, I often don’t want to pack all of the coffee brewing equipment that I use to cater events. That’s why the Stanley lunch box was appealing. I could imagine myself walking out the door of my house carrying my lunch box as if leaving for the day to work in the factory. I know that sounds funny to admit. But I also remember my Dad when I was little, leaving for work carrying a metal lunch box. While he didn’t work in a factory, he was an electrician at a meat-packing plant. It was as blue-collar as you can get in small-town Iowa.
After watching a few videos and looking at many photos, I figured out everything I needed to complete my coffee setup in the lunch box. I also watched enough videos to know that MOST people, while brewing atop their Stanley lunch box, didn’t pack EVERYTHING inside of it. Many had dainty glass carafes as well as glass water pitchers. I wanted everything I needed to brew coffee actually to fit INSIDE of the lunch box. I was on a mission.
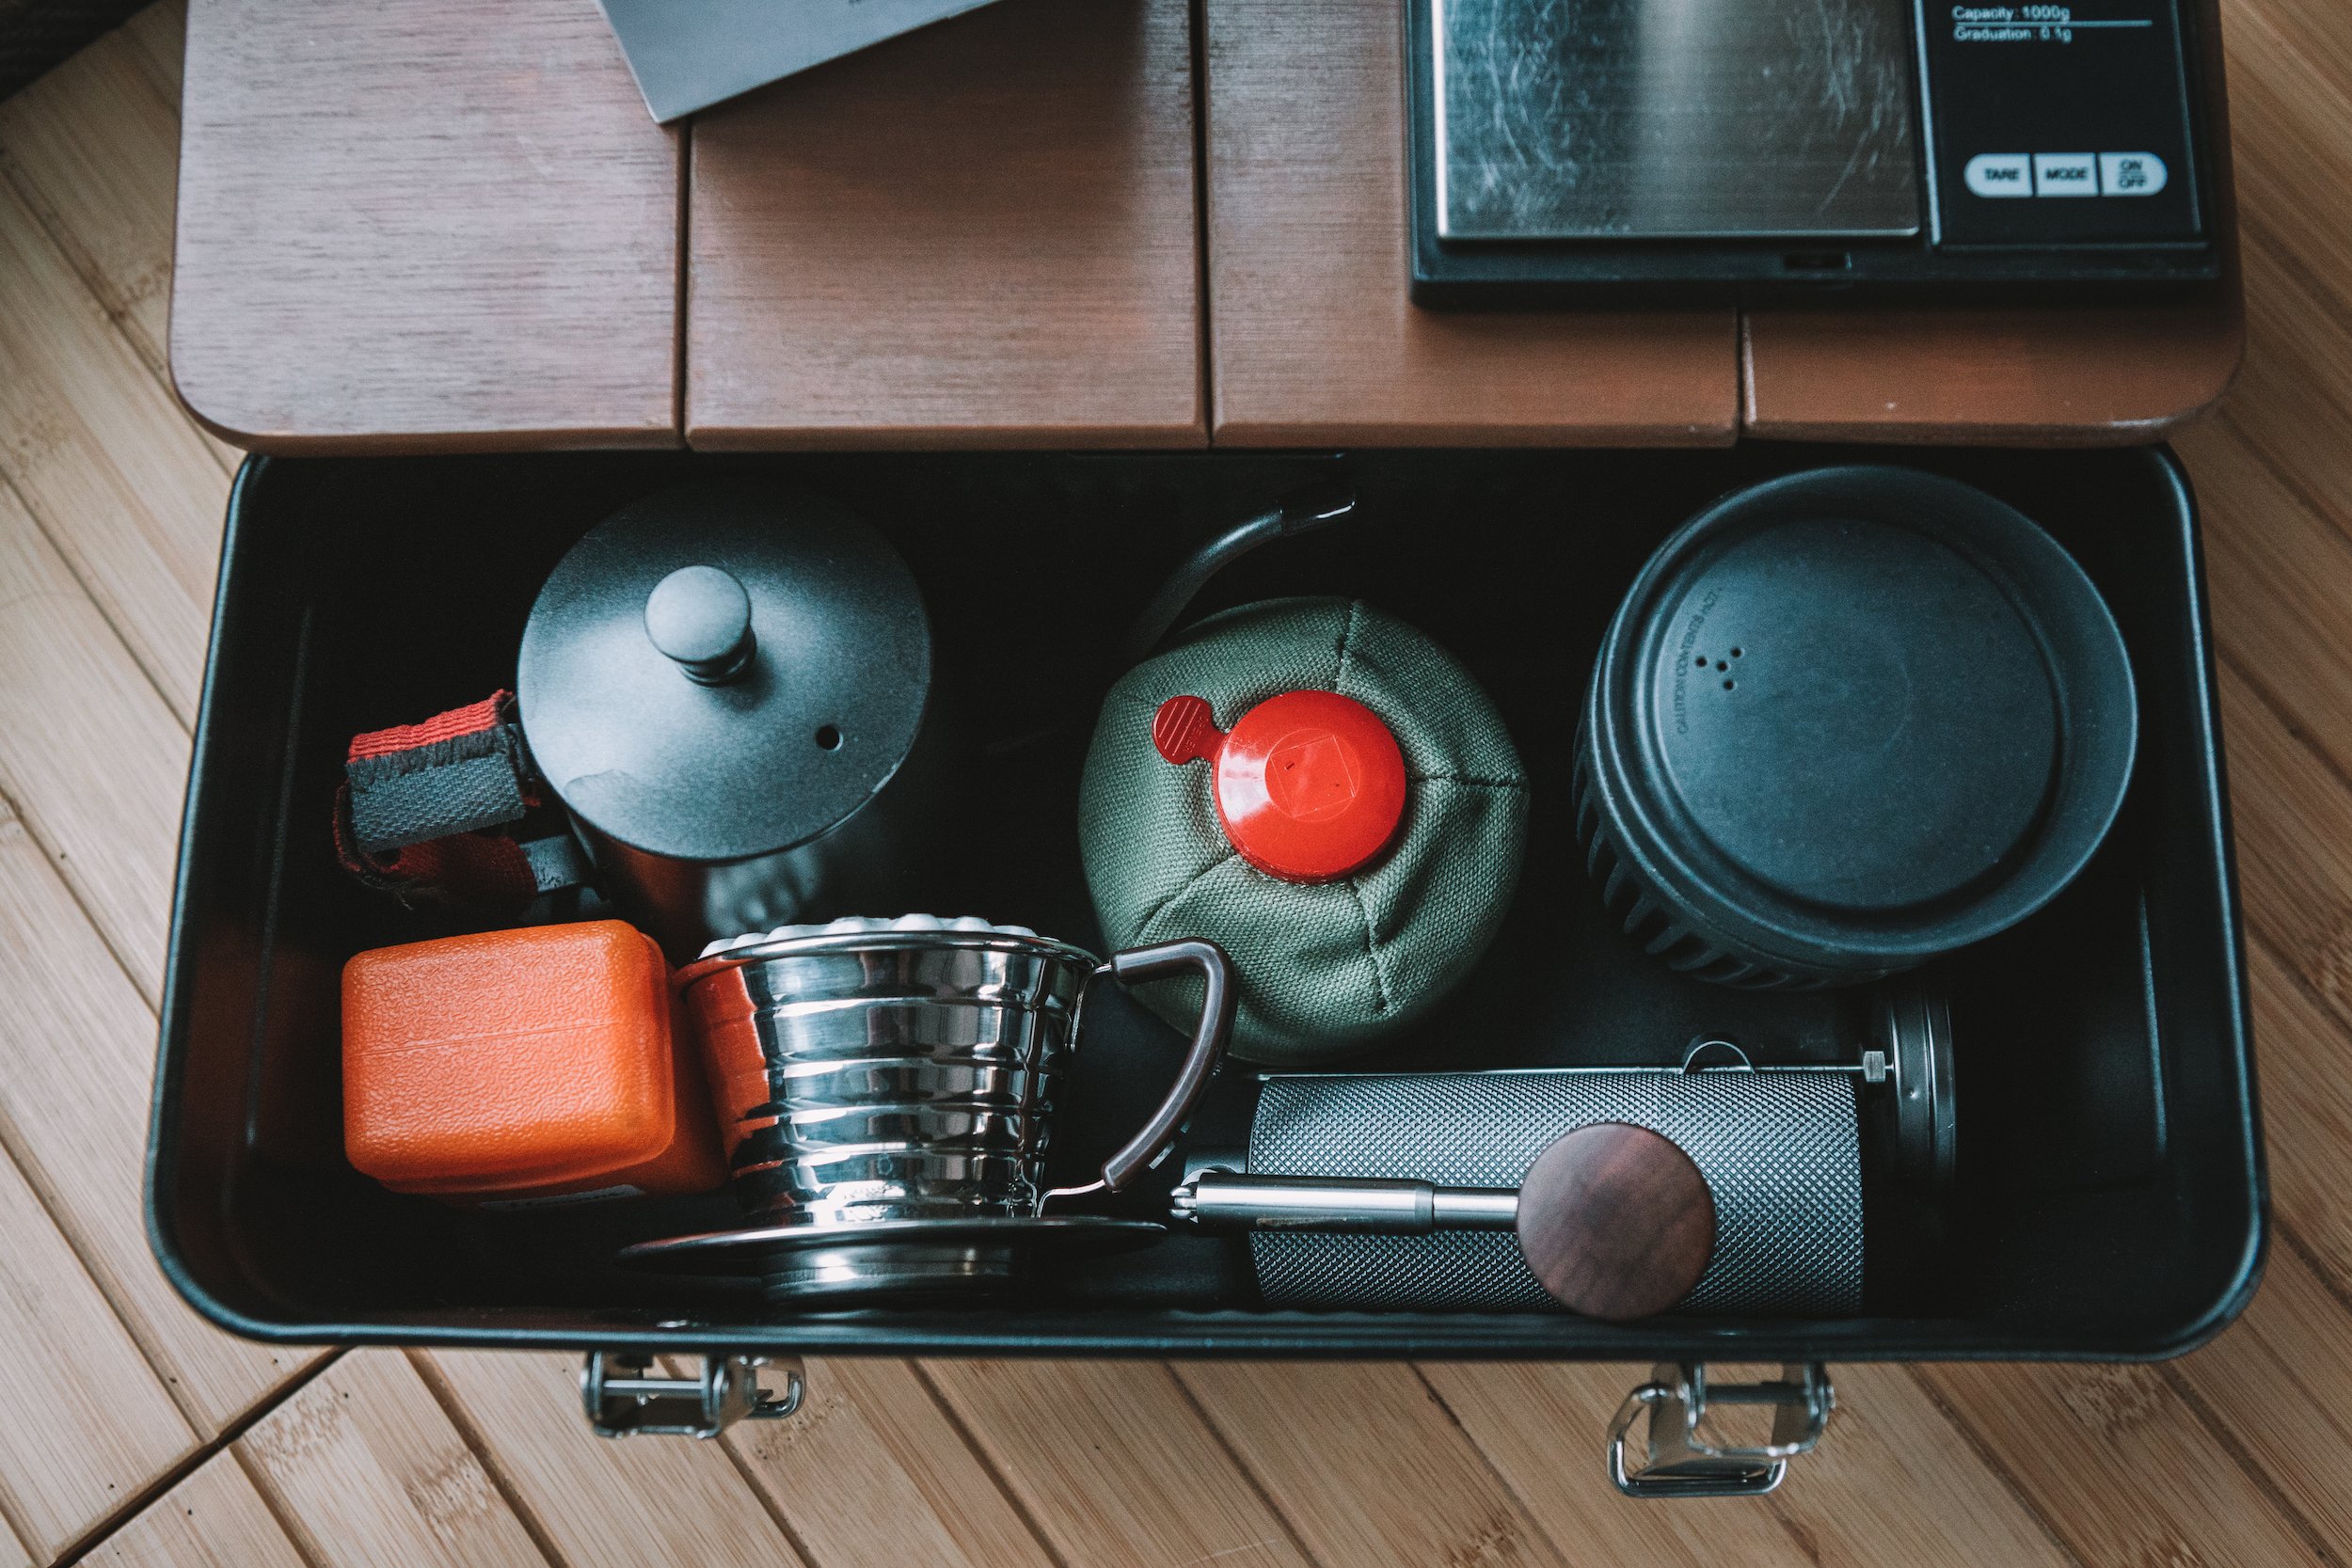
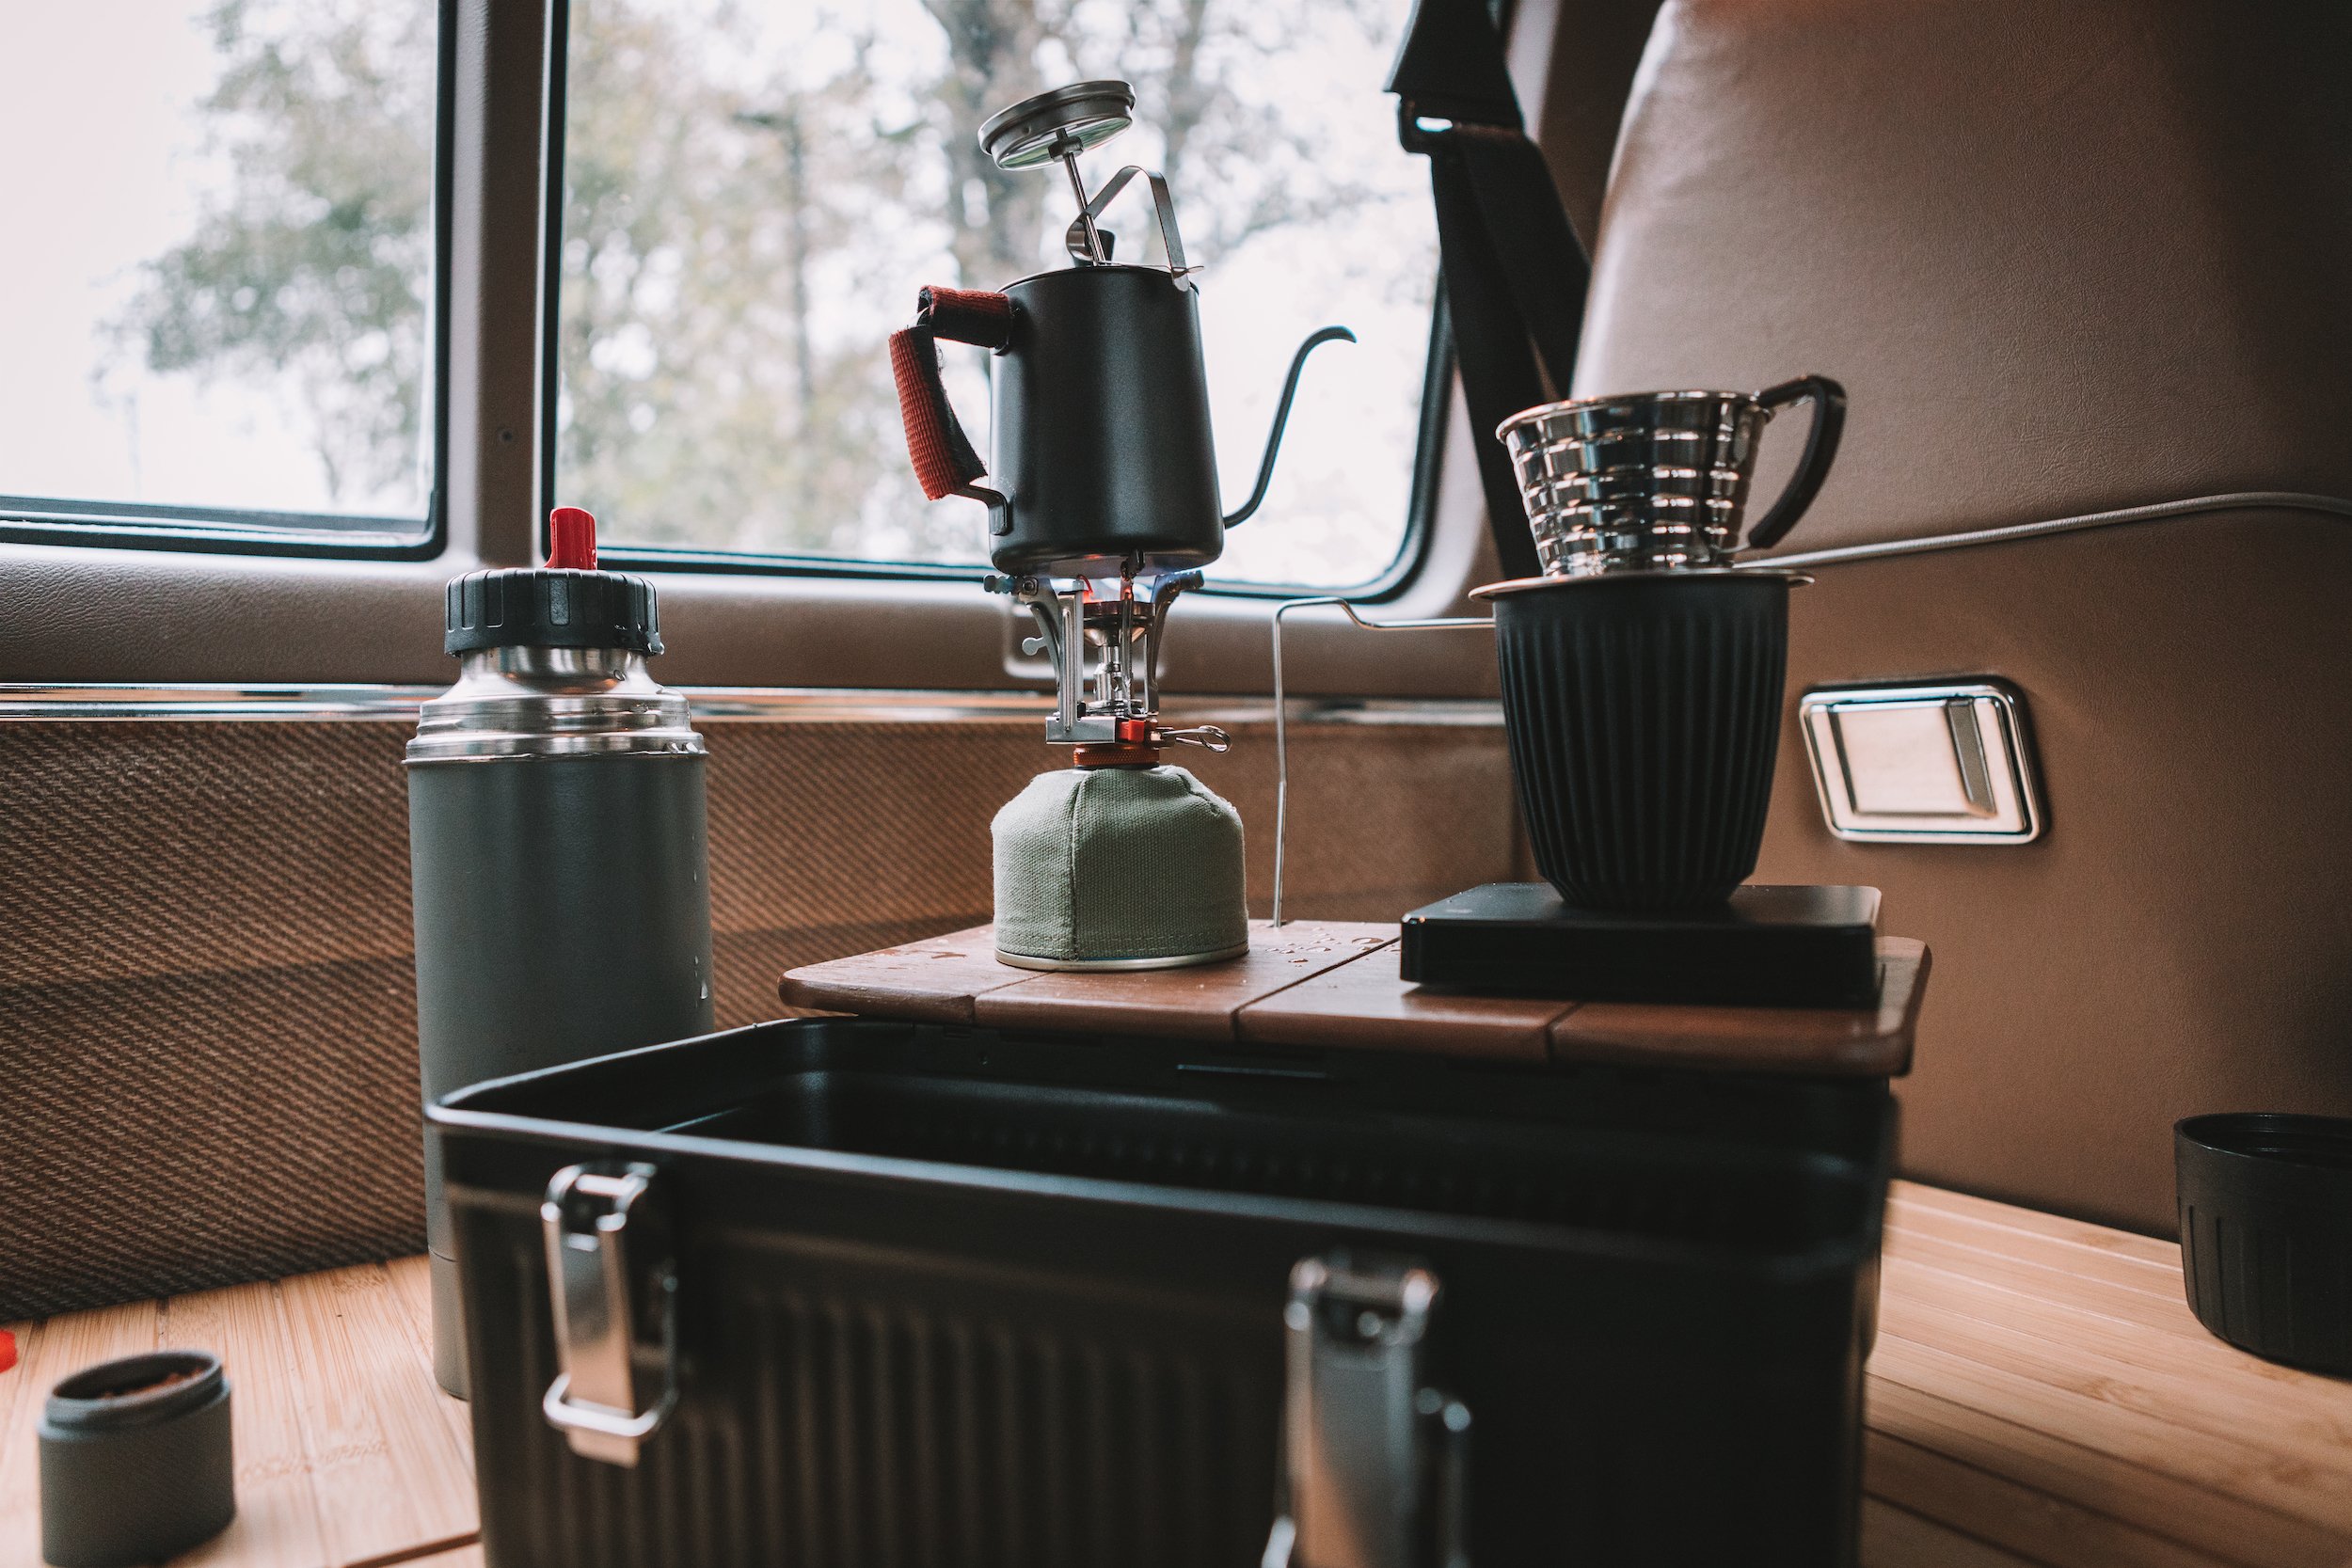
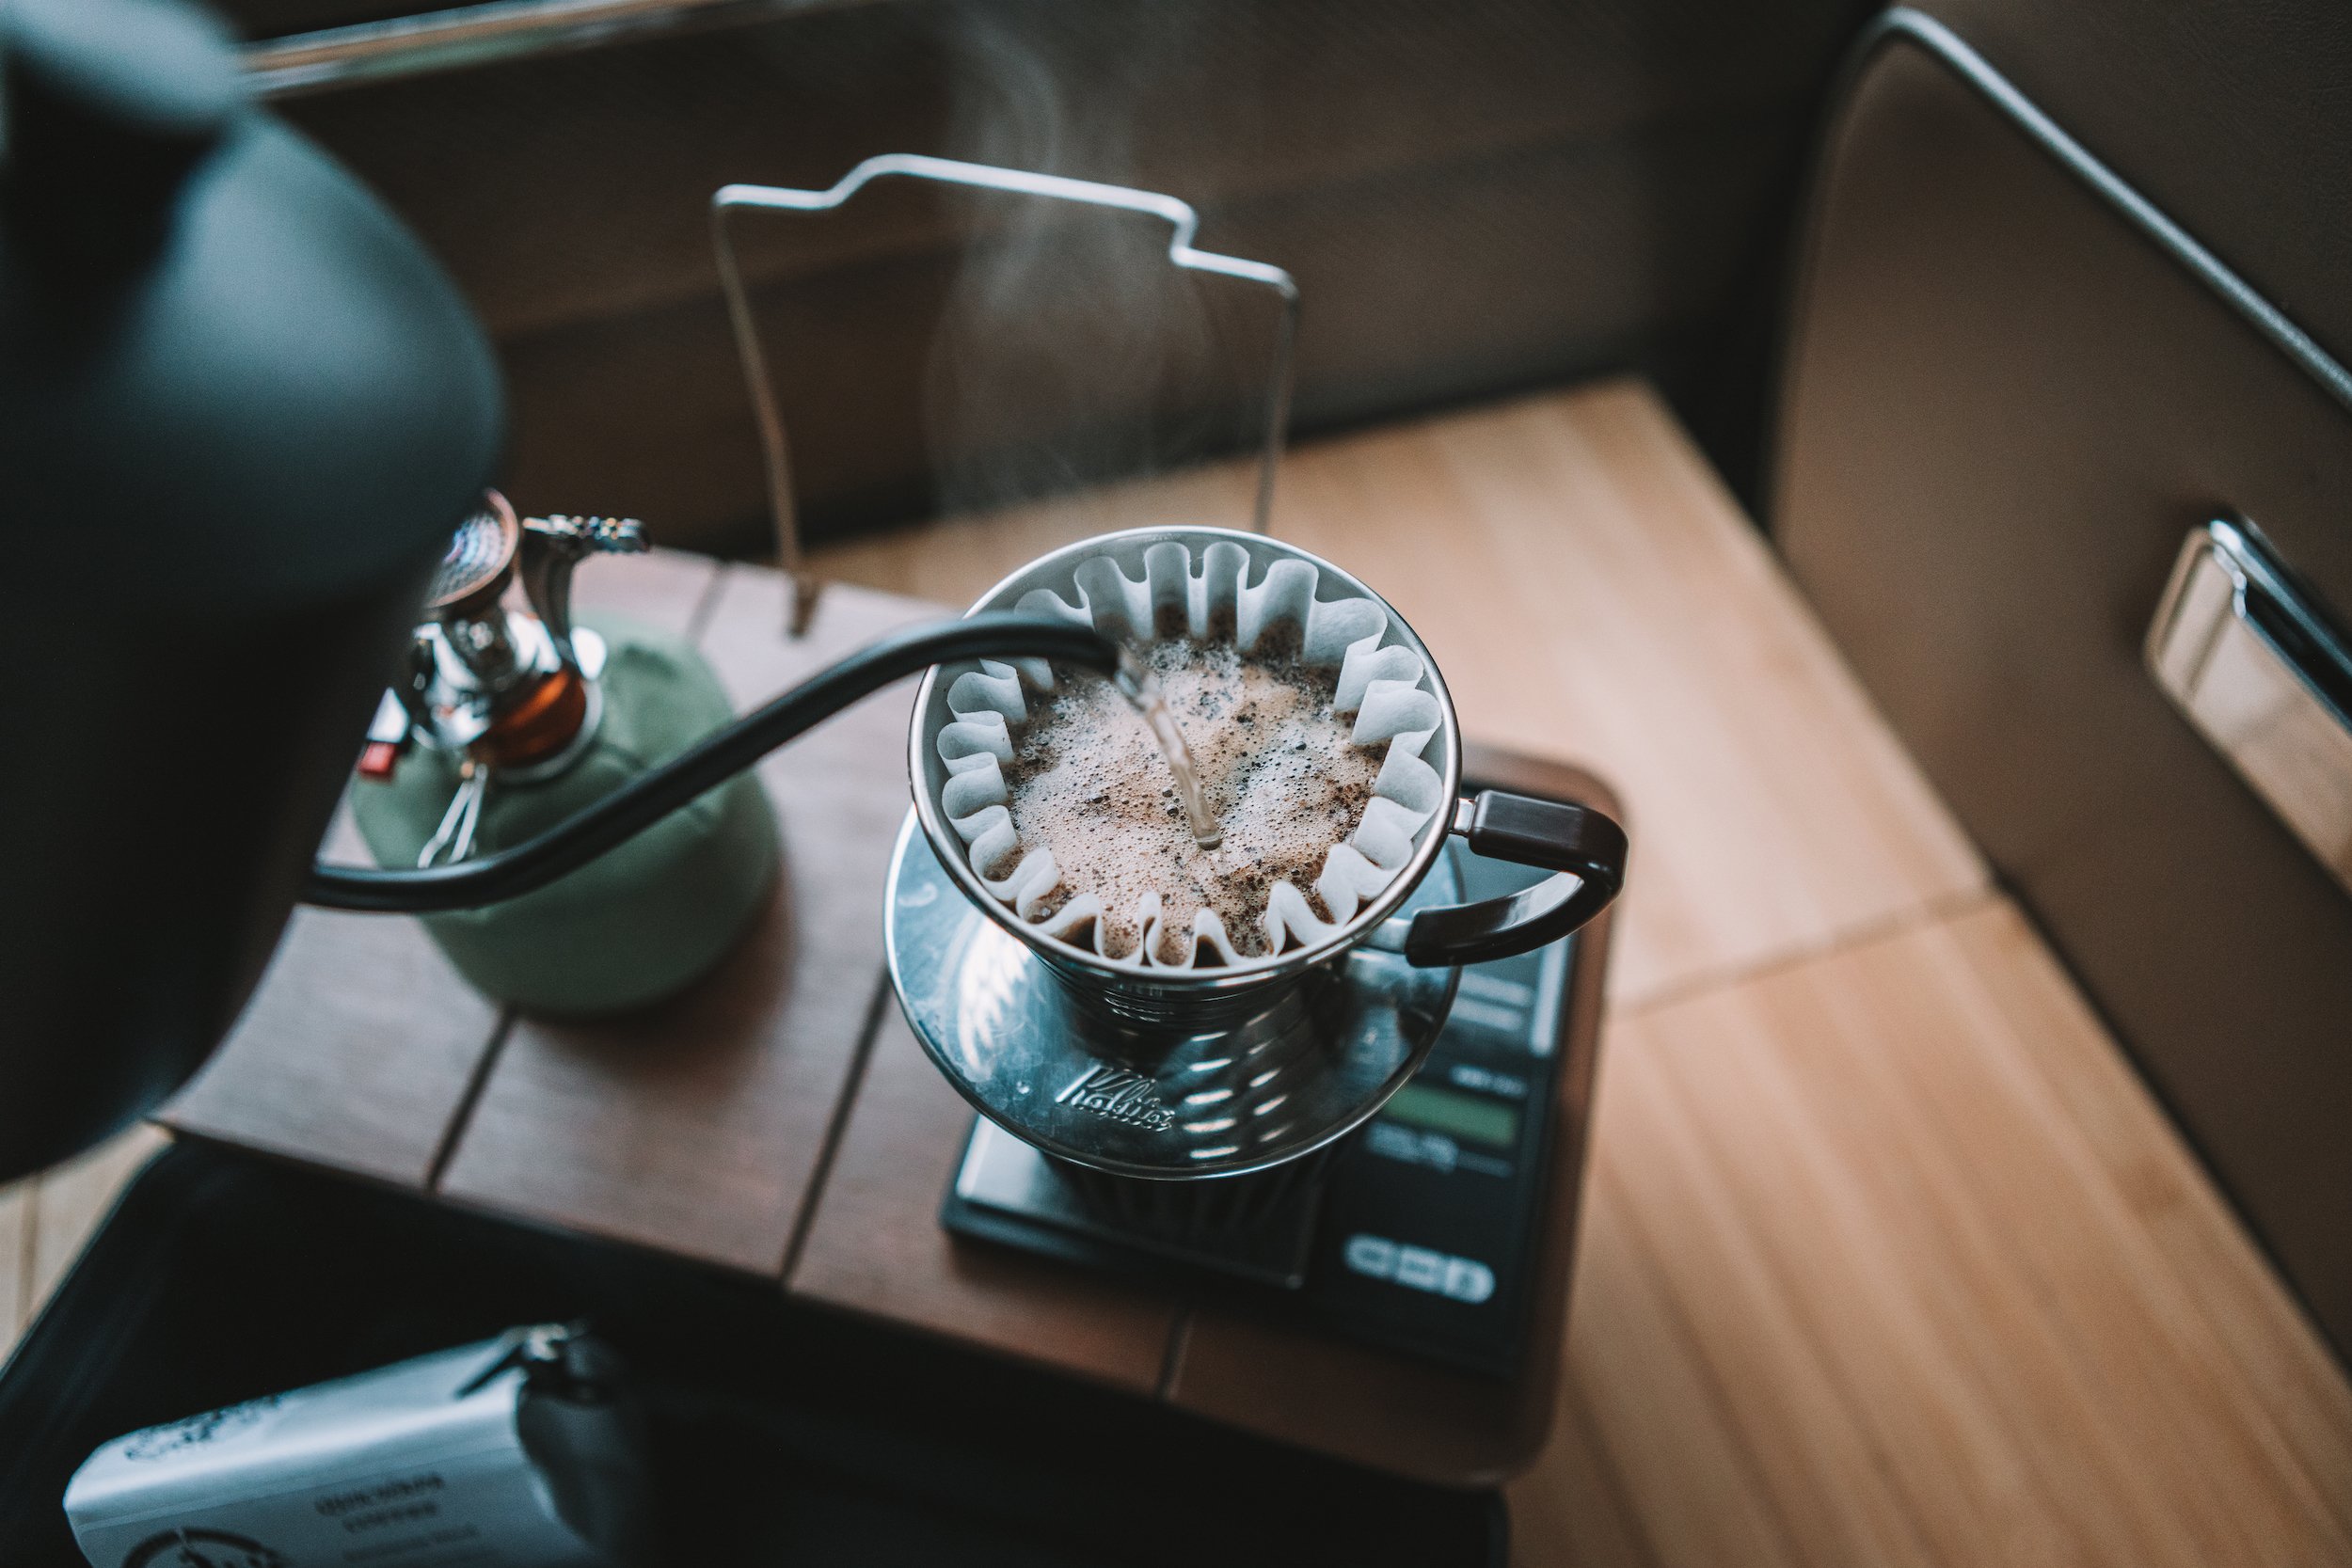
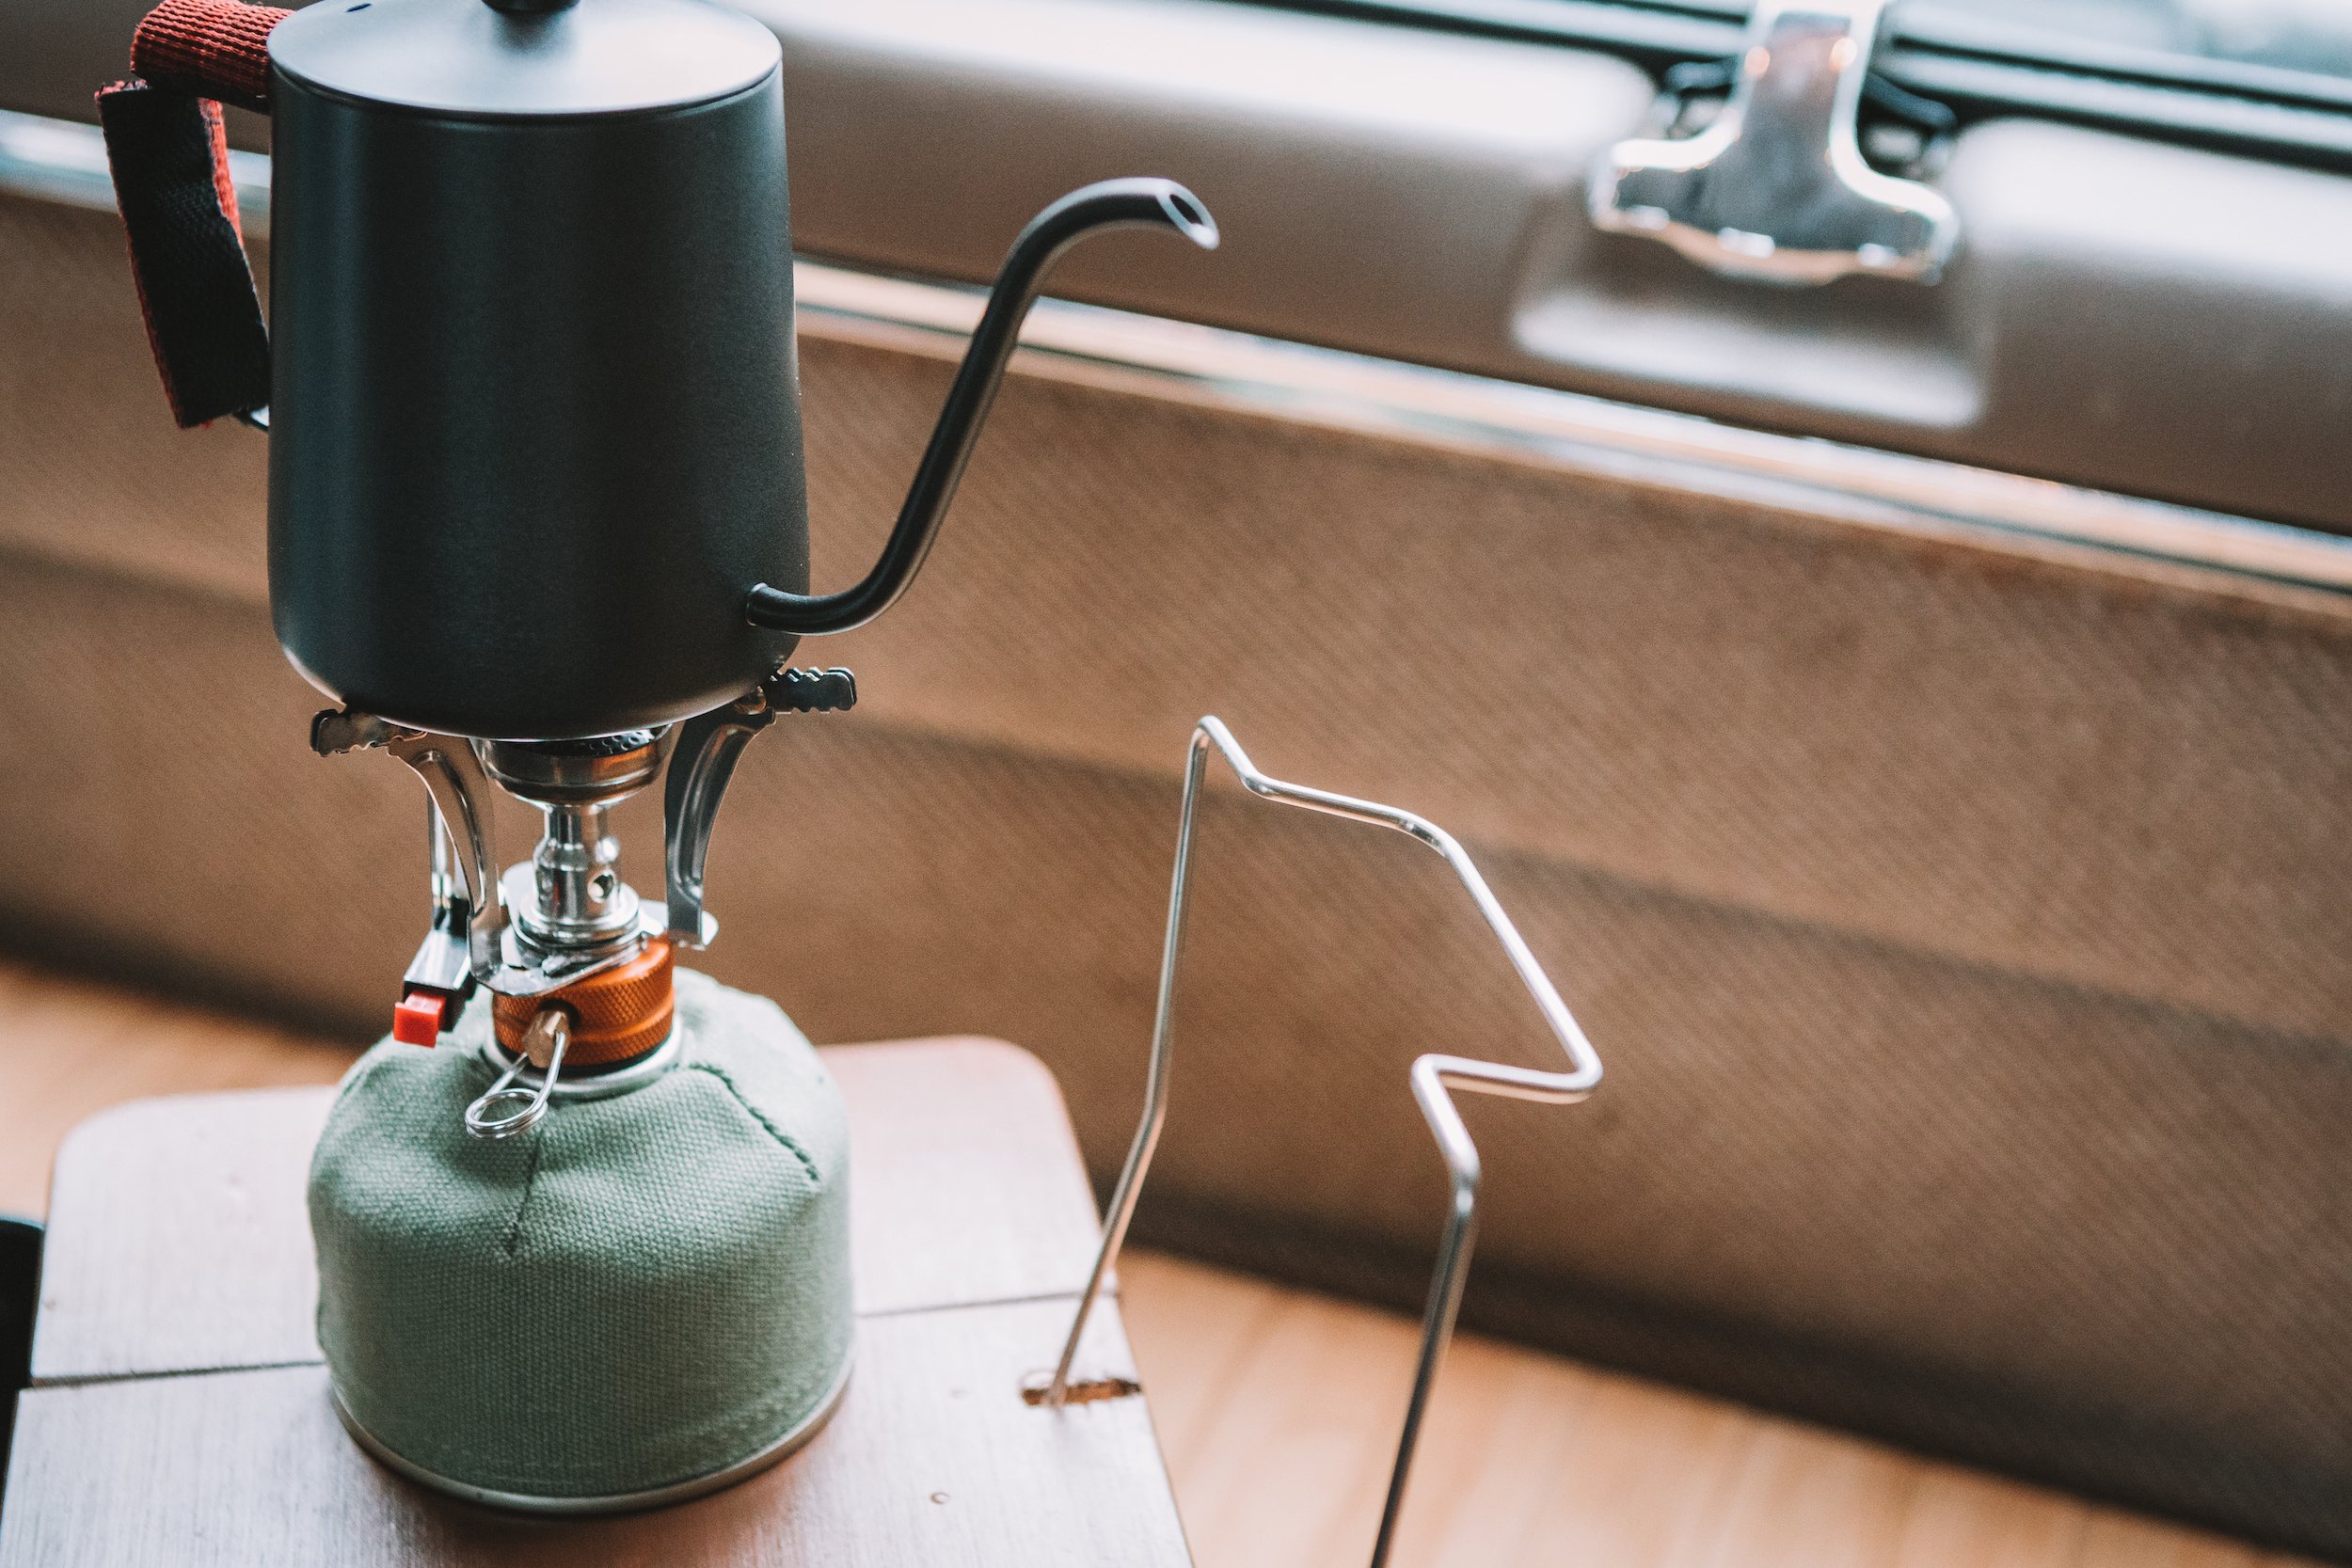
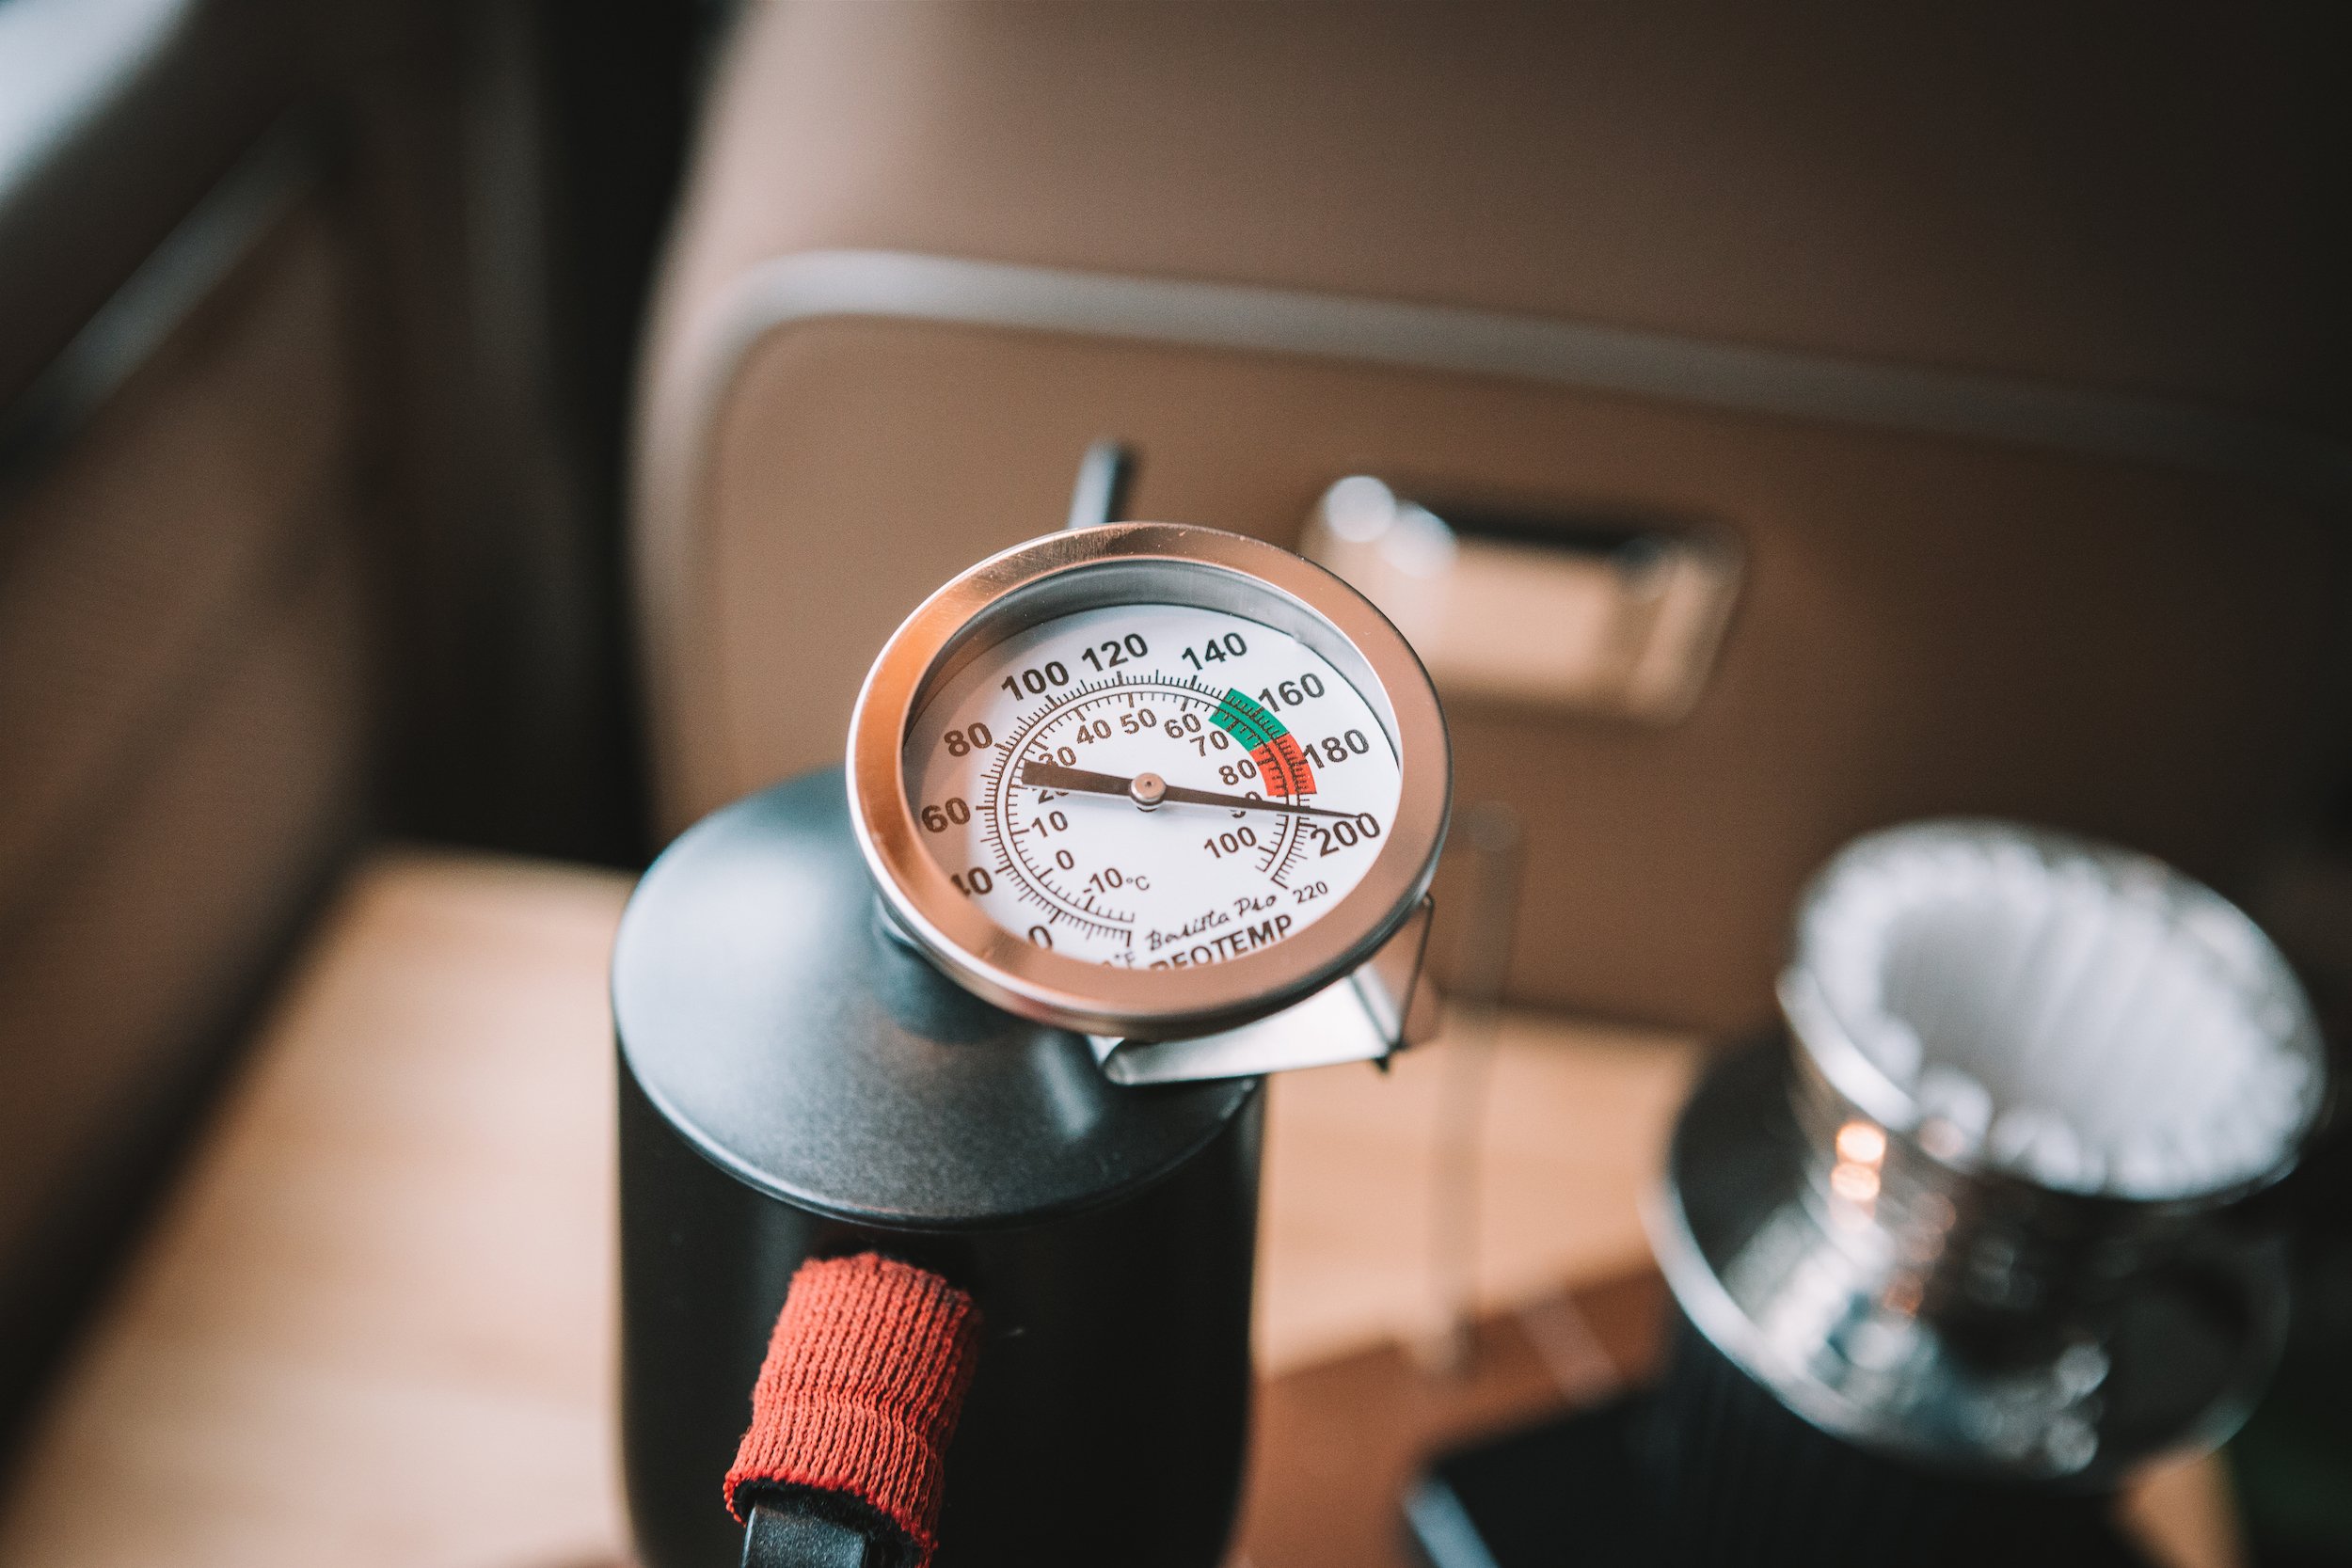
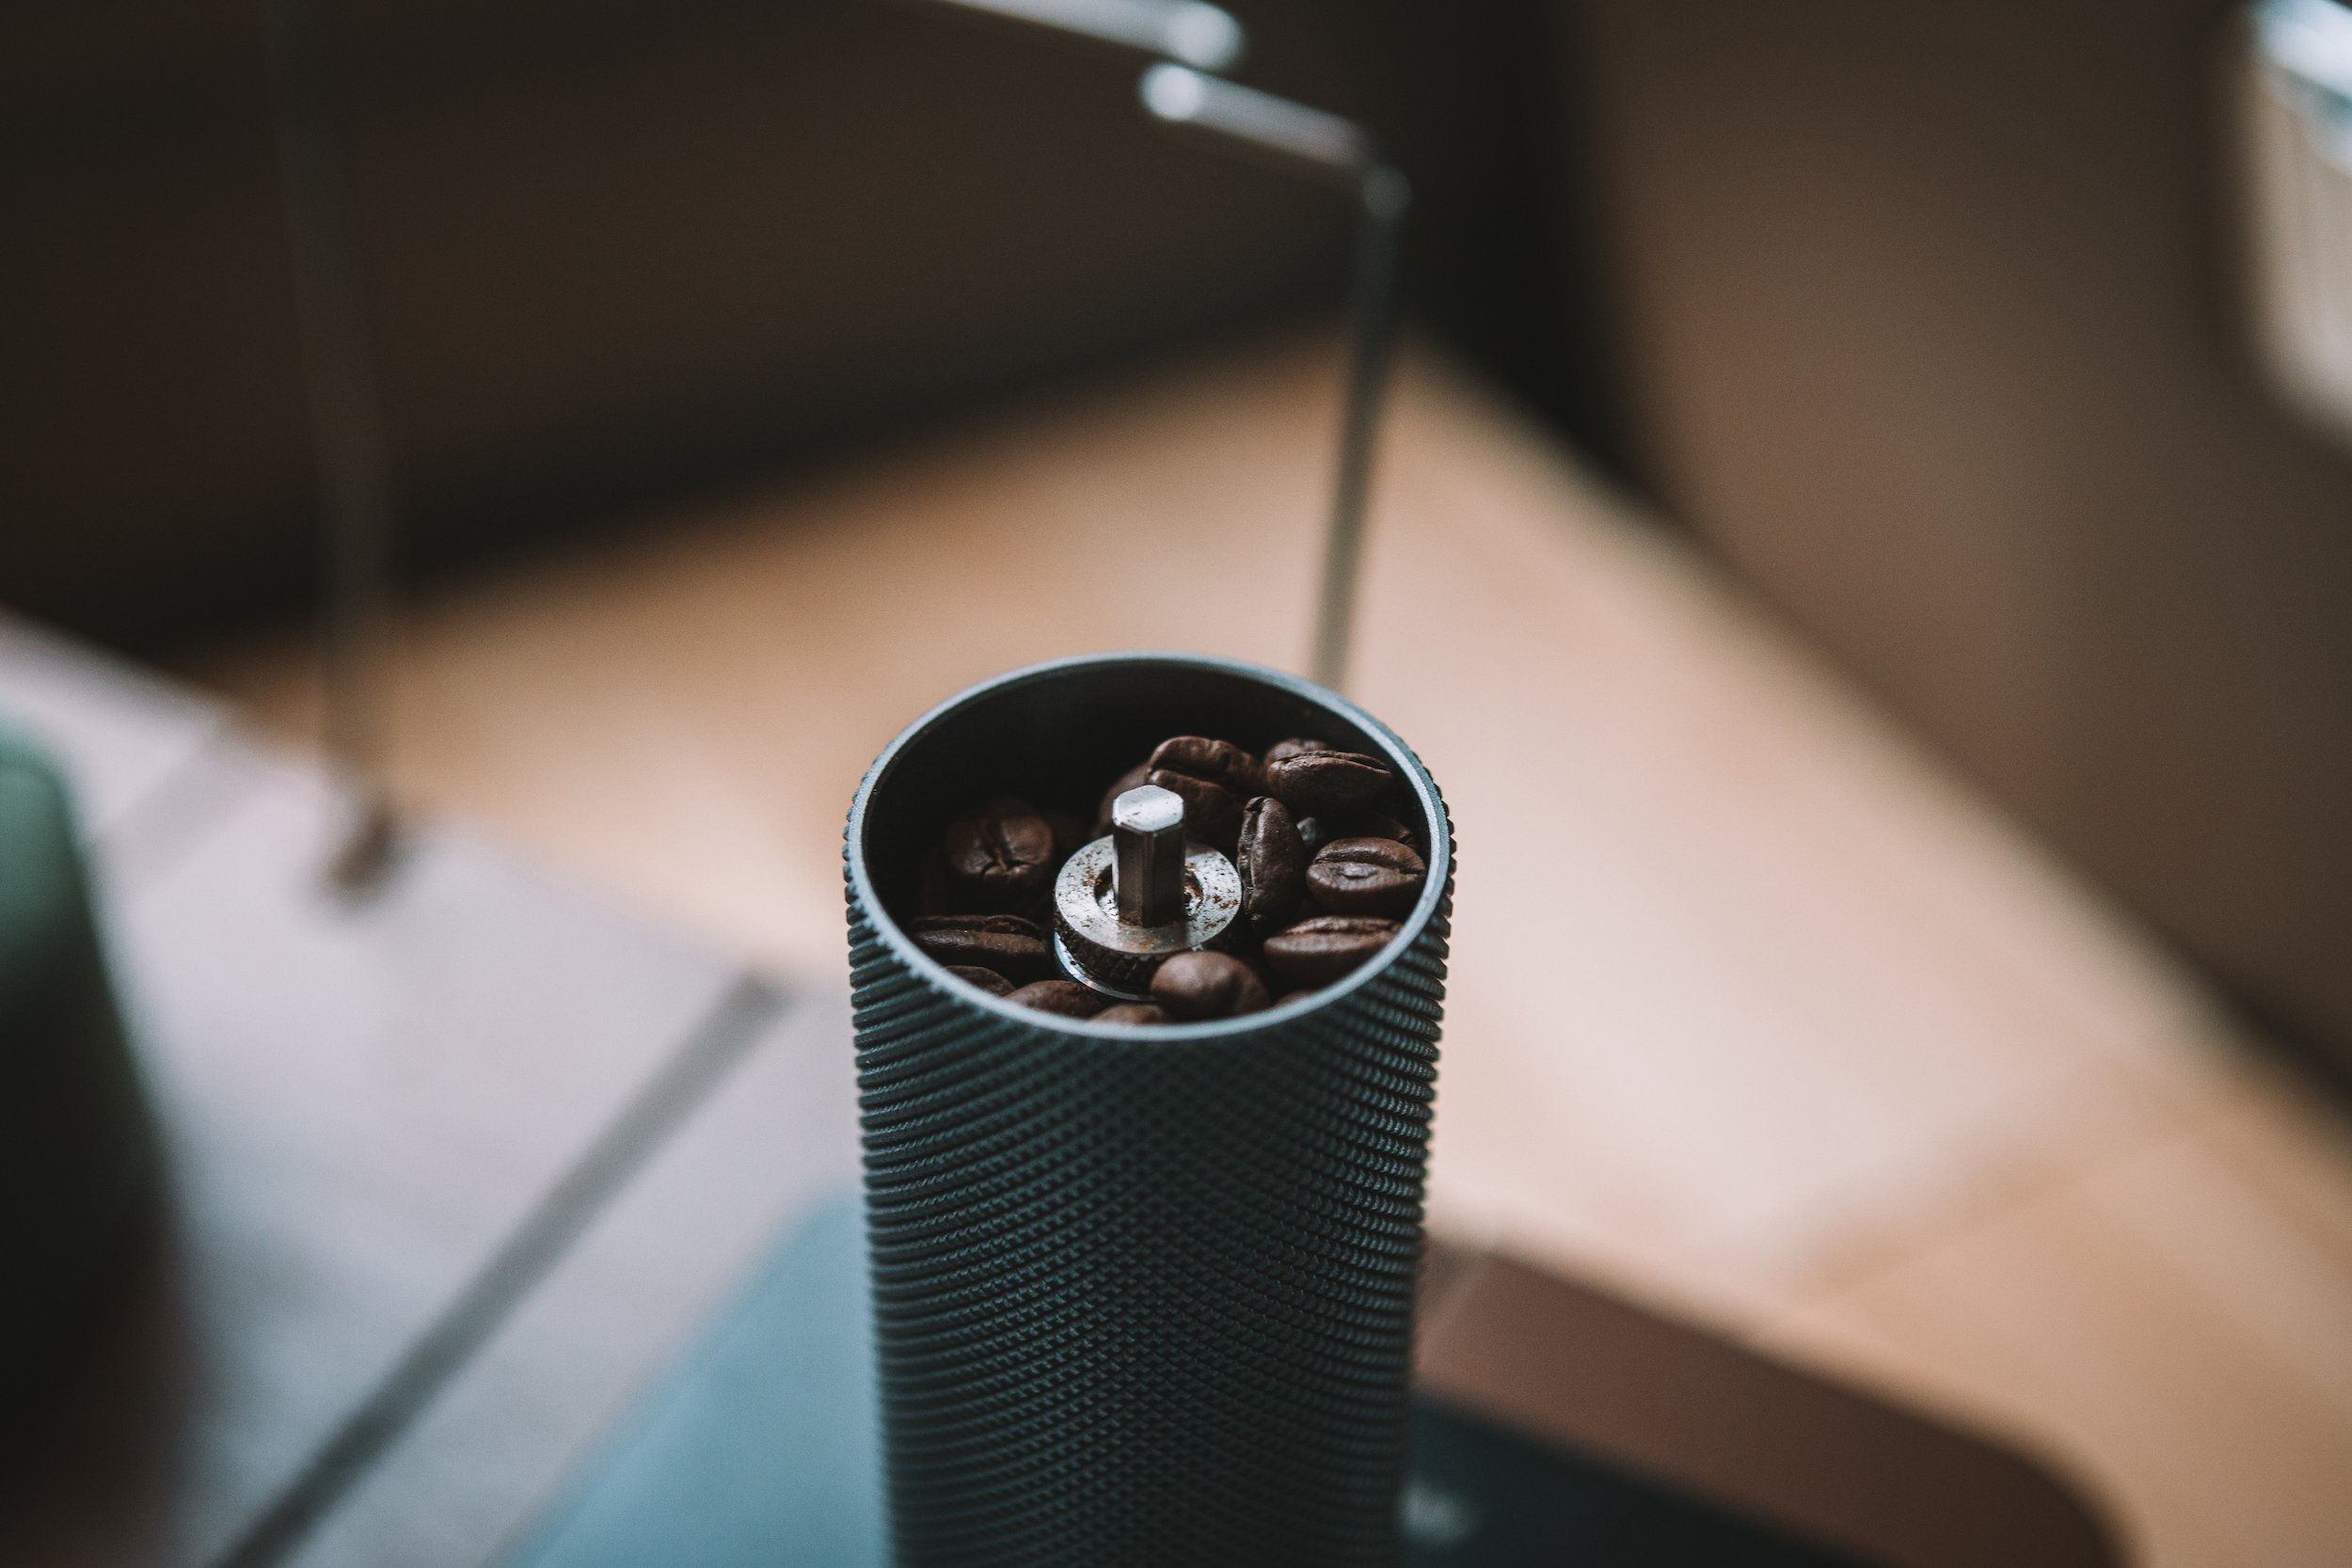
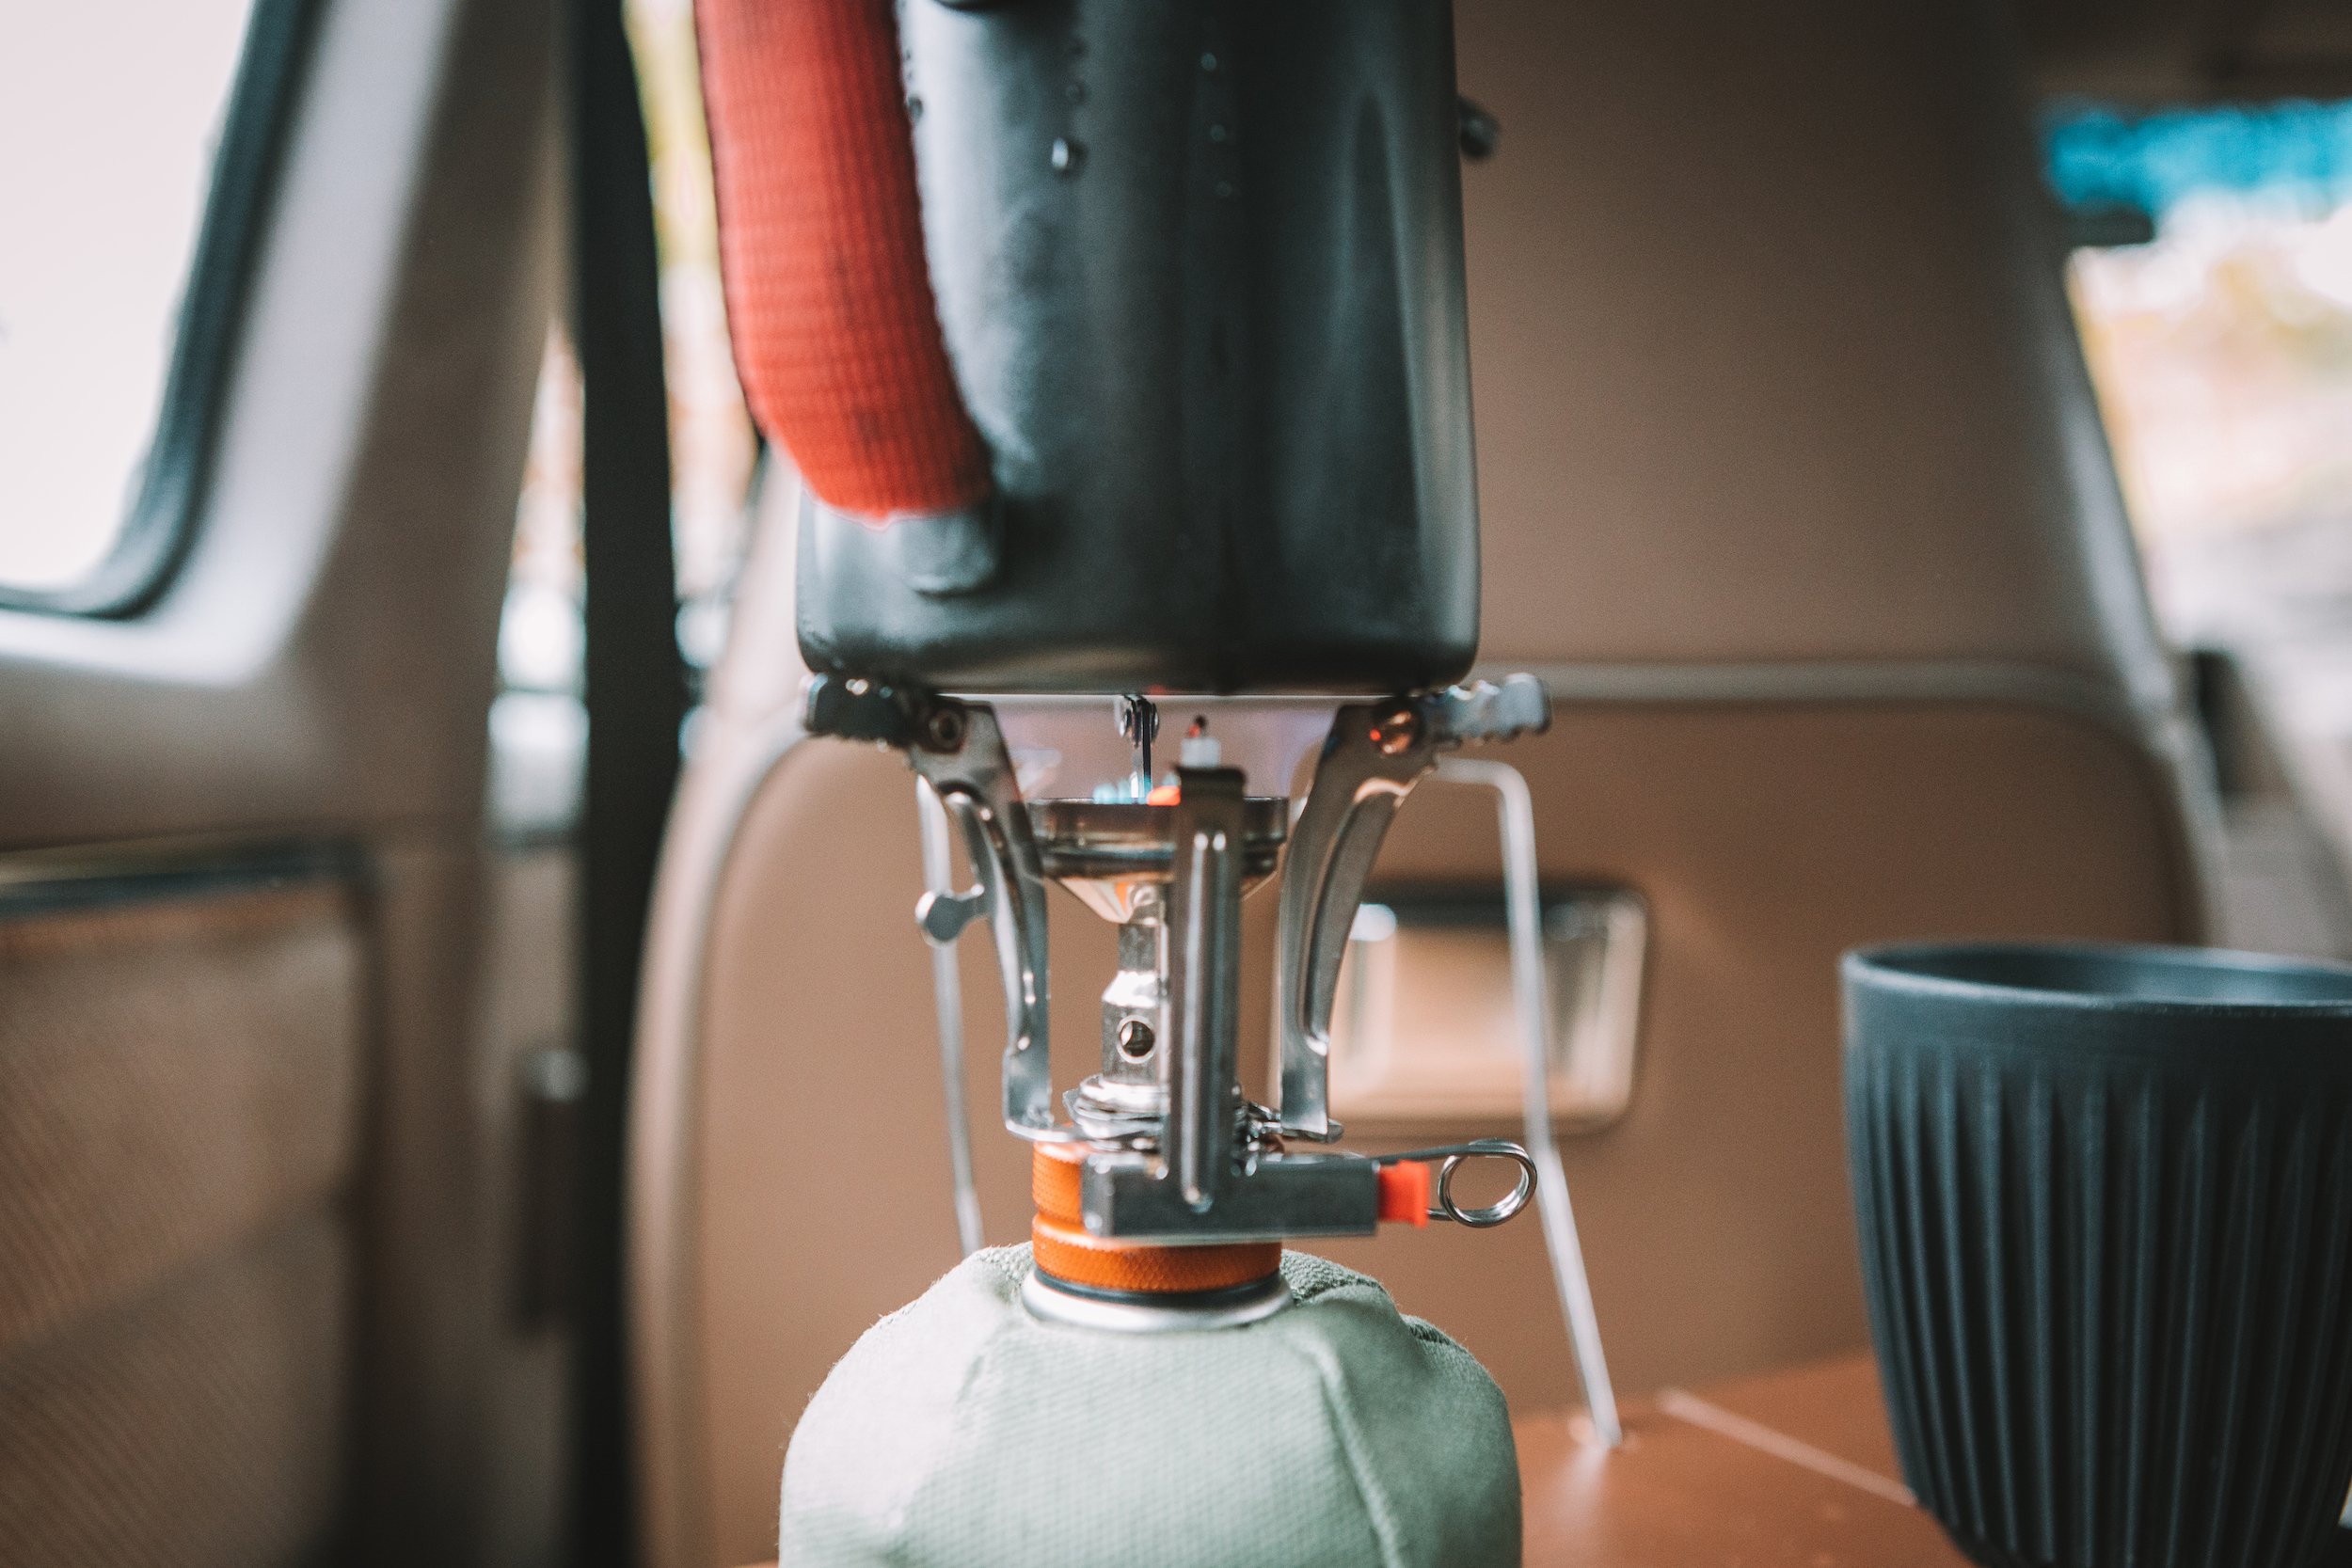
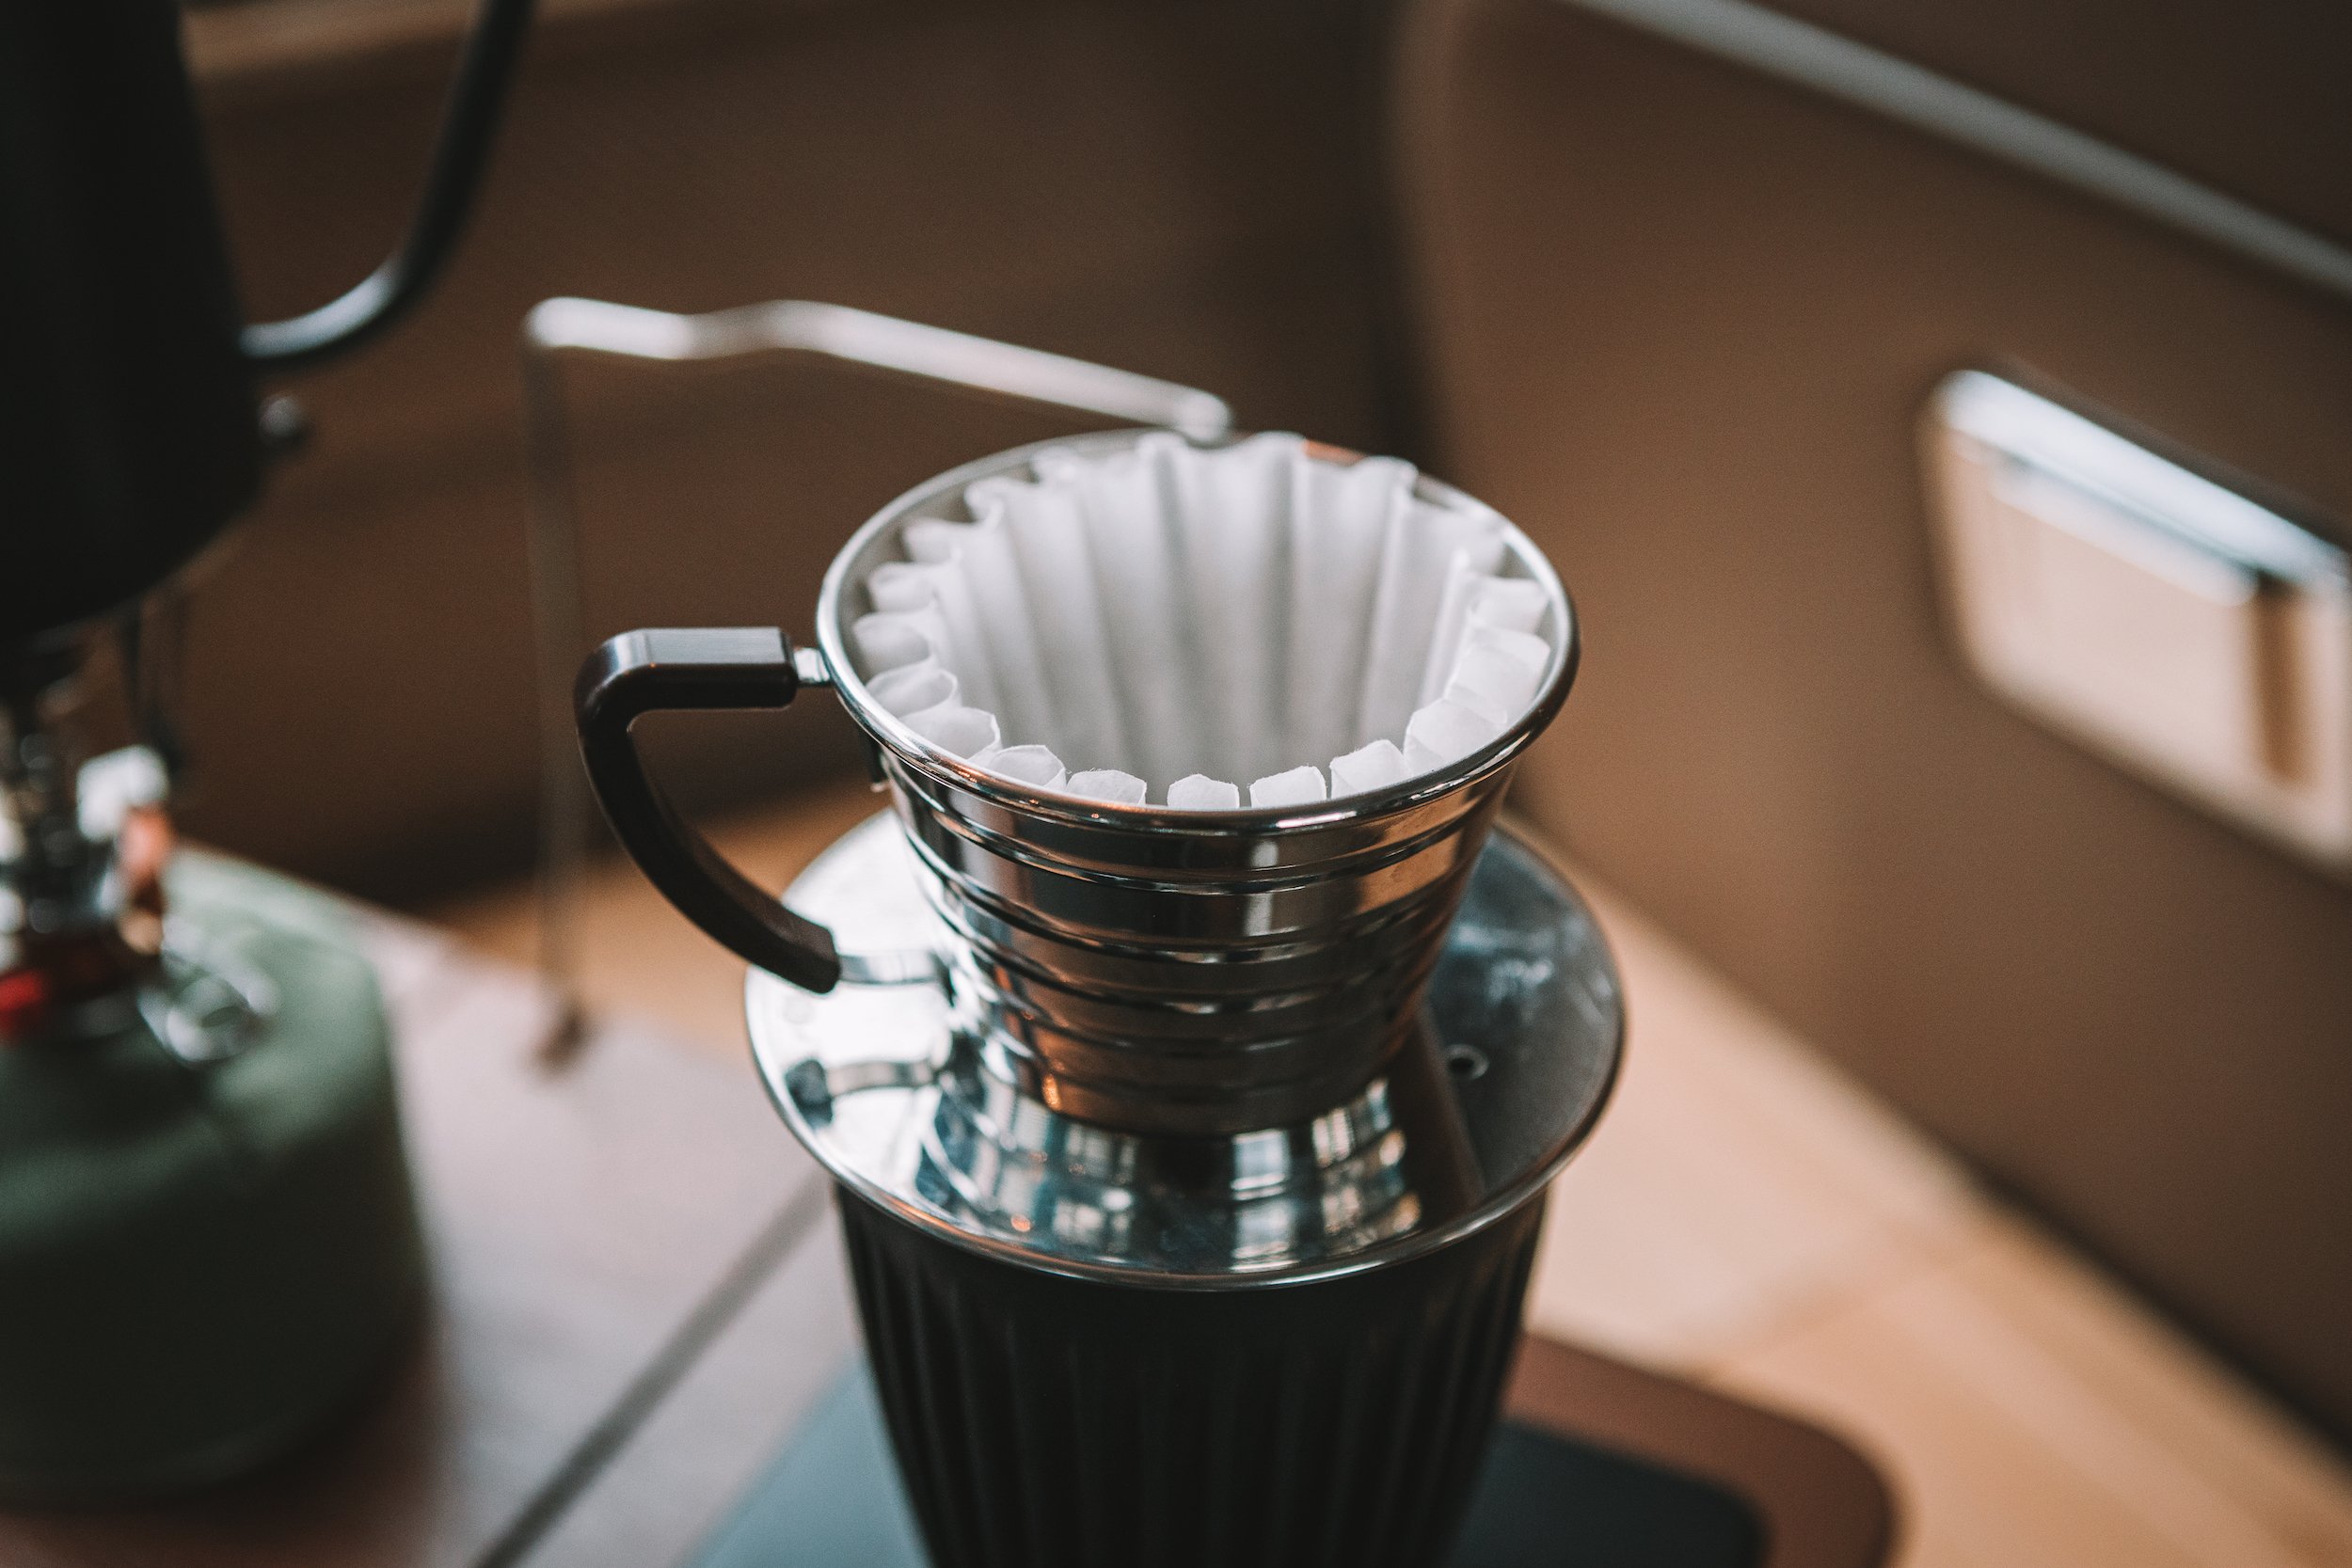
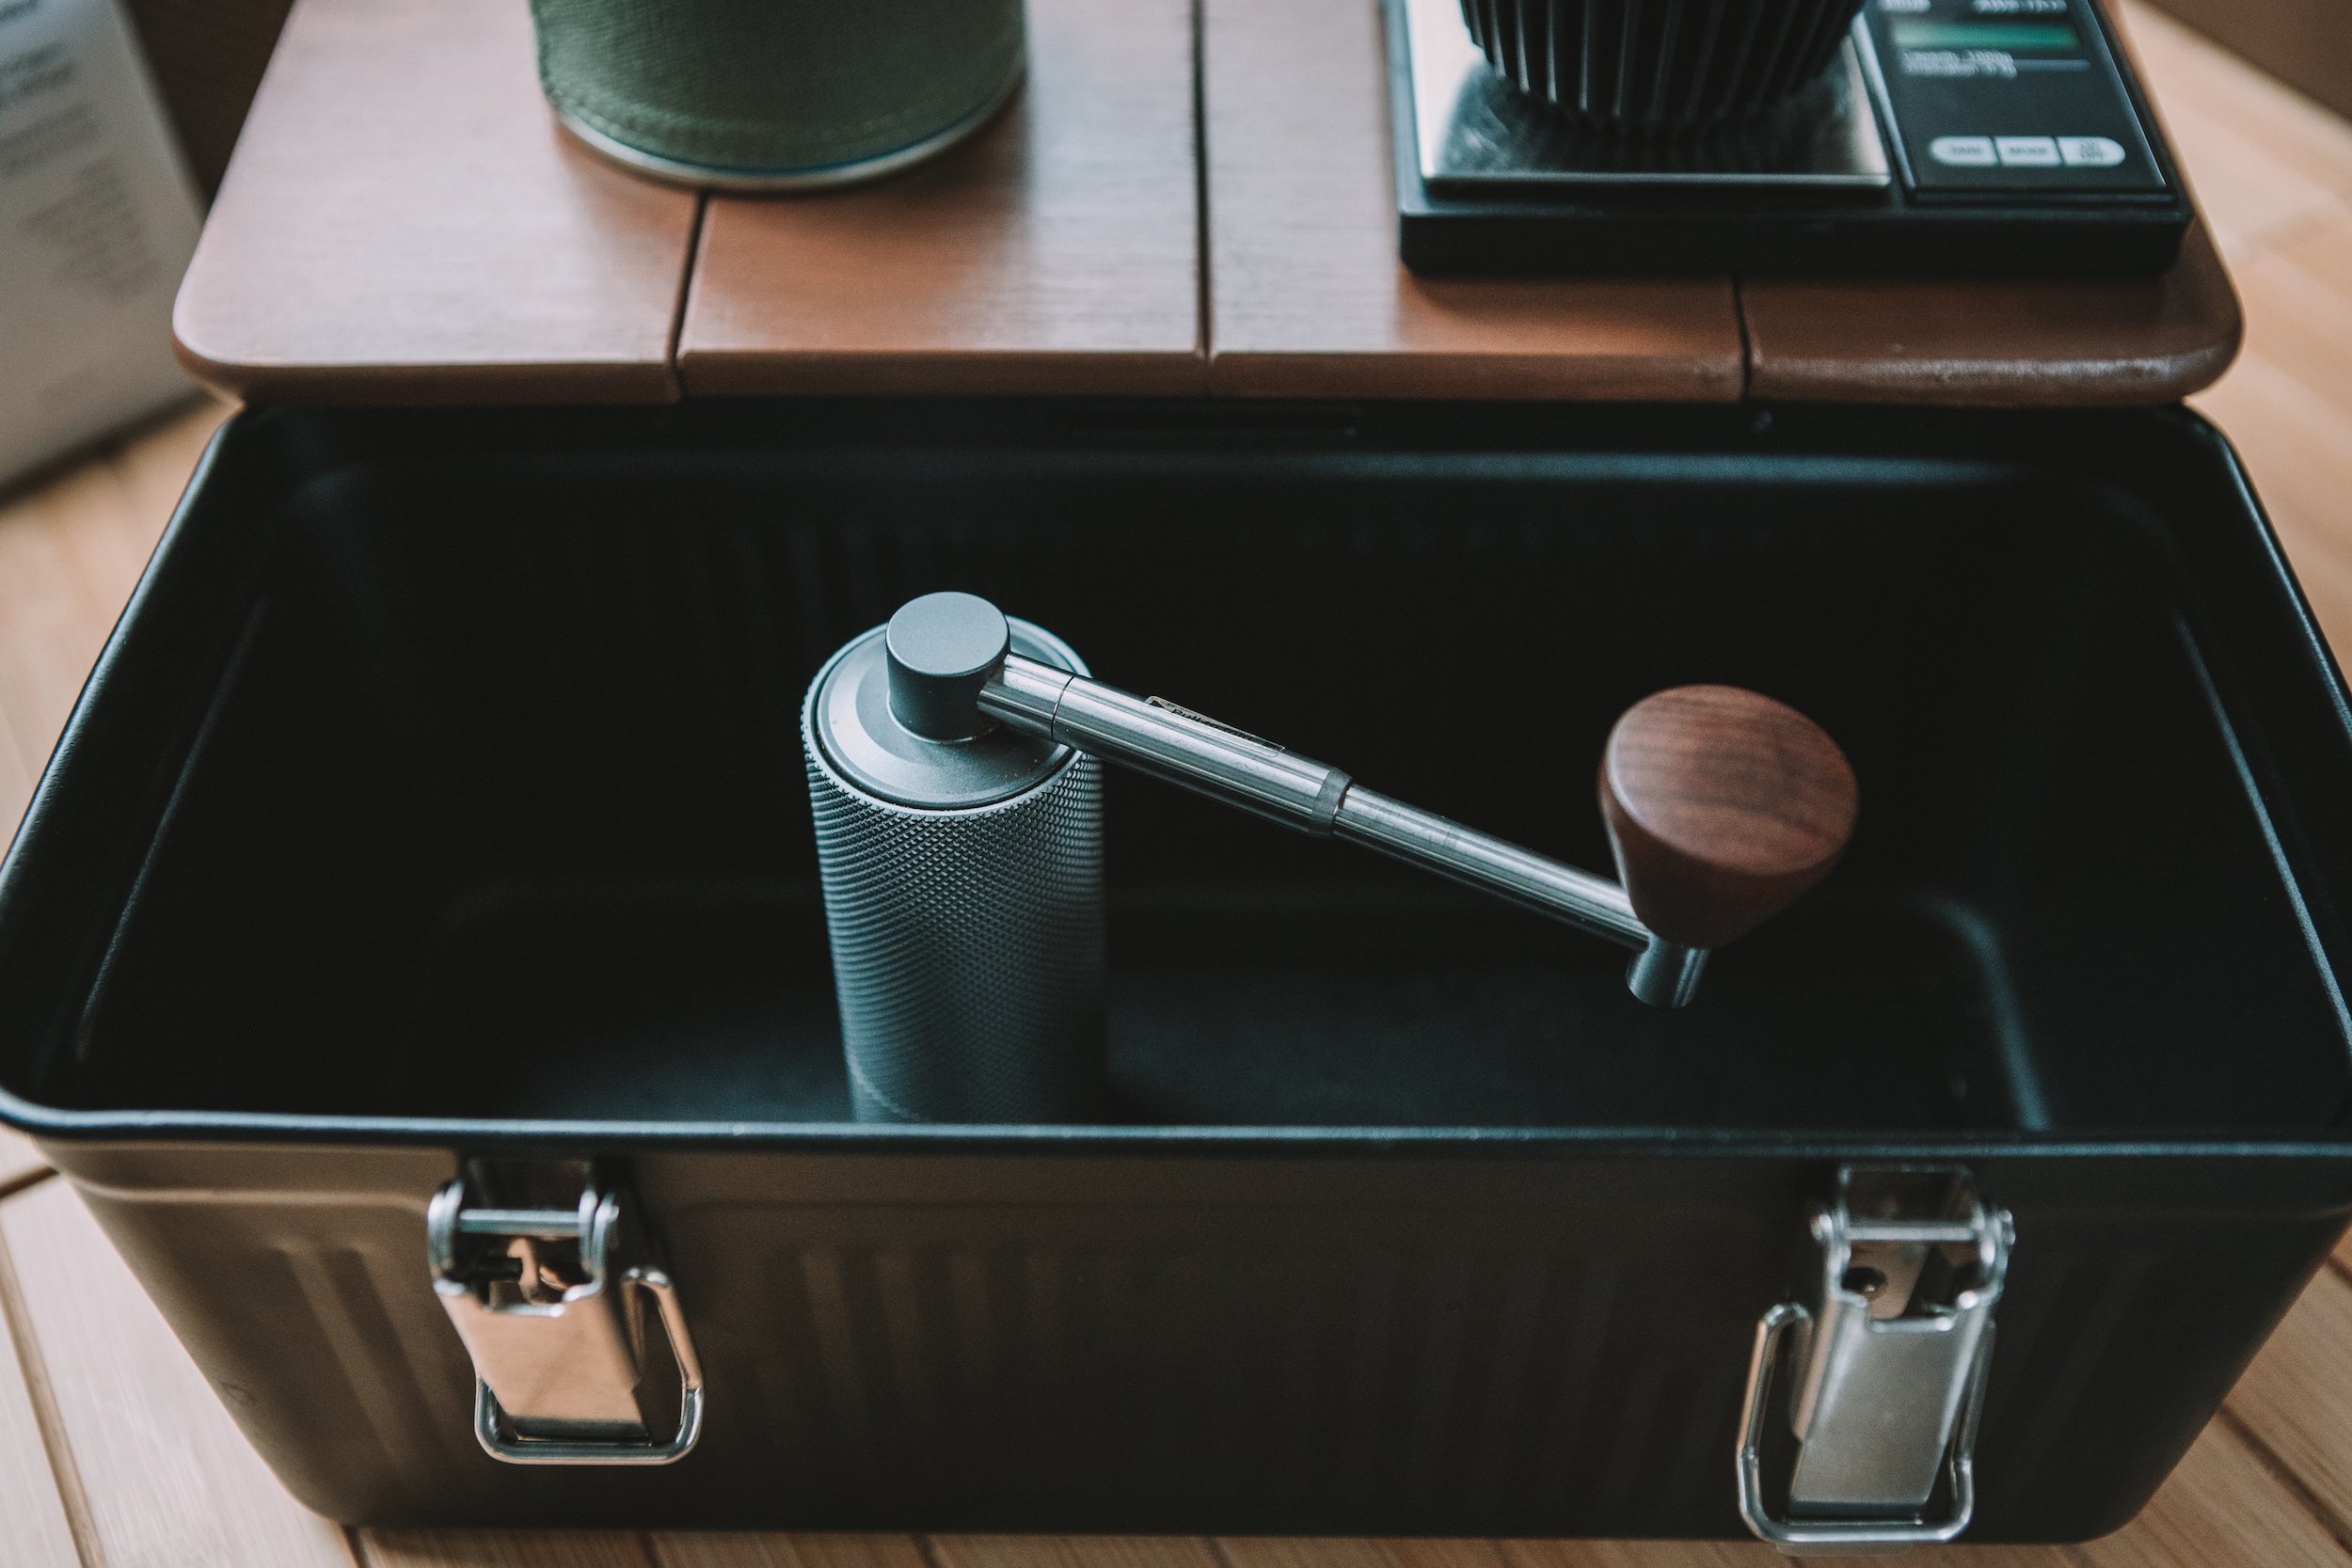
I snagged the lunch box off Amazon for $50 with my gift card. Luckily, I had a Thermos for water that I picked up for $5 at a thrift store and a compact scale I had for several years ($10). The only things missing were: (1) a compact hand grinder, a burner, a small pourover dripper, a tiny kettle that would fit inside the lunch box, and a thermometer to monitor the water temperature. One by one, I assembled those. I went with the Kalita wave dripper (size 155), picked up a Timemore Nano hand grinder, a cheap thermometer, and a $14 burner that fit on fuel cans I already had for my Jet Boil. Yes, I bought a little “jacket” to fit over the can. The only thing missing was that wooden platform.
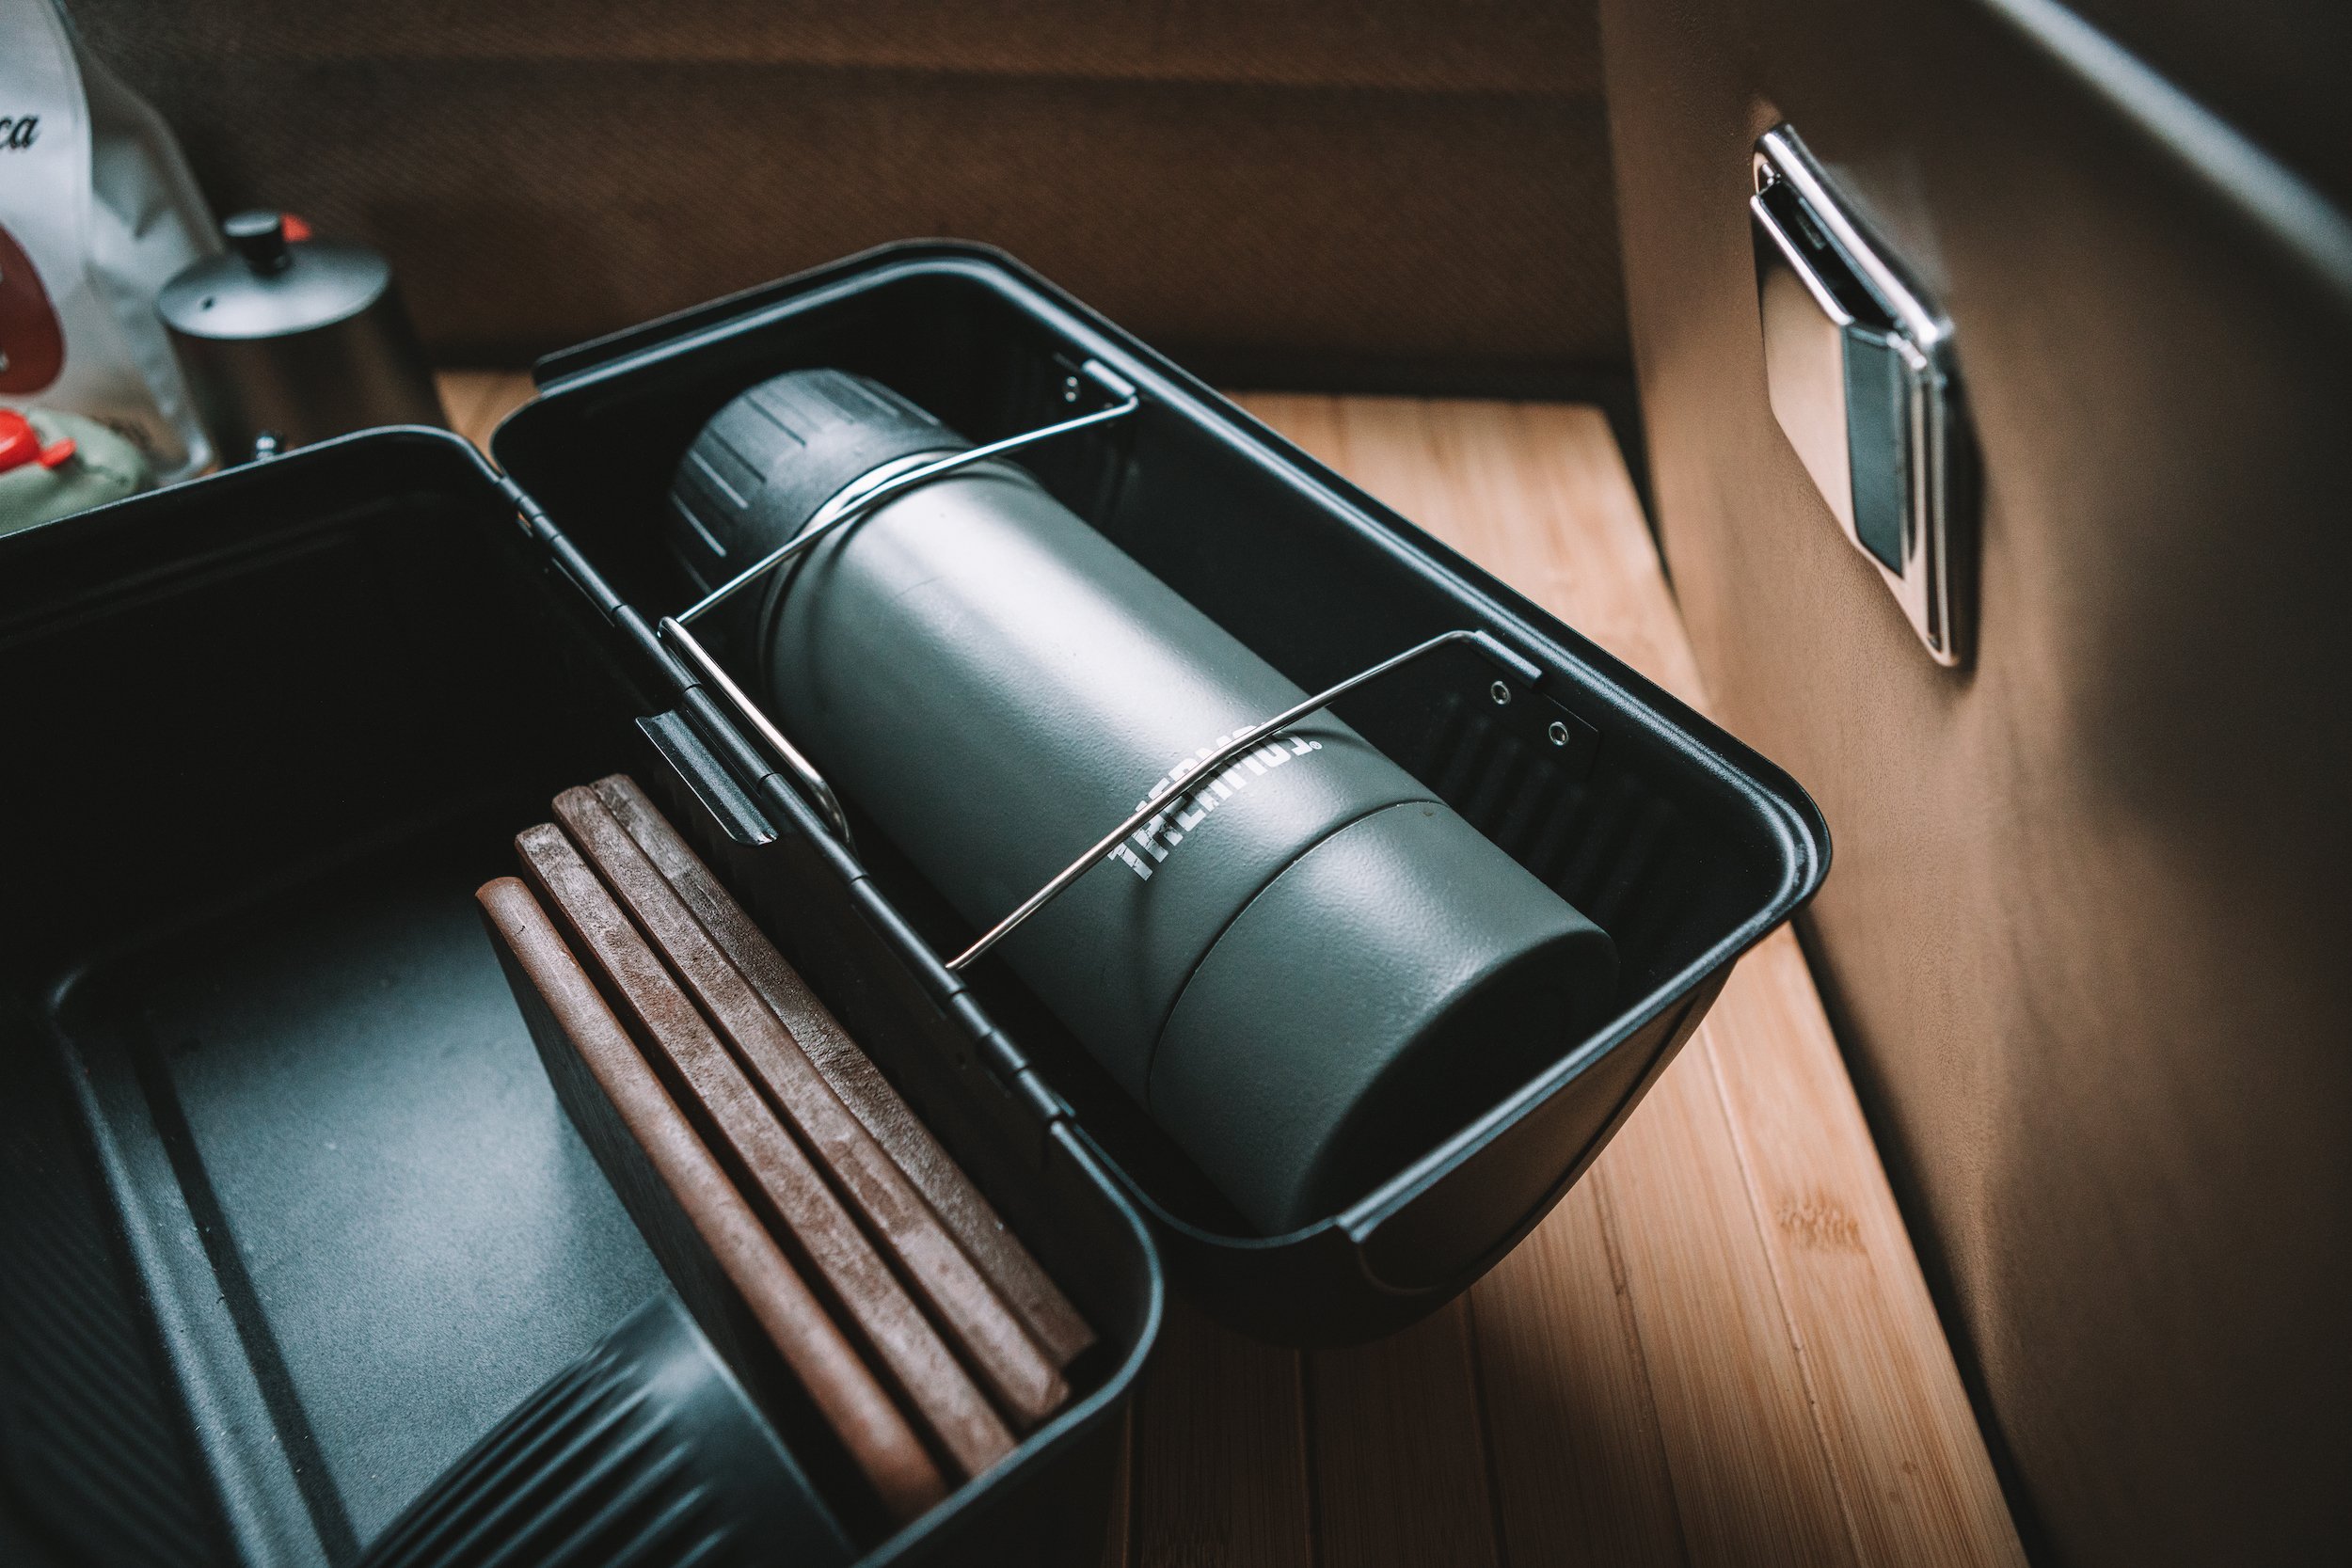
The only wooden platforms I could find came from Unito, but they were always out of stock. Tired of waiting, I measured my lunch box and ordered an $8 bamboo cutting board from Amazon. It was an experiment more than anything. Once I received it, I cut it into pieces to fit inside my lunch box, sanded it, and then applied stain. I was set.
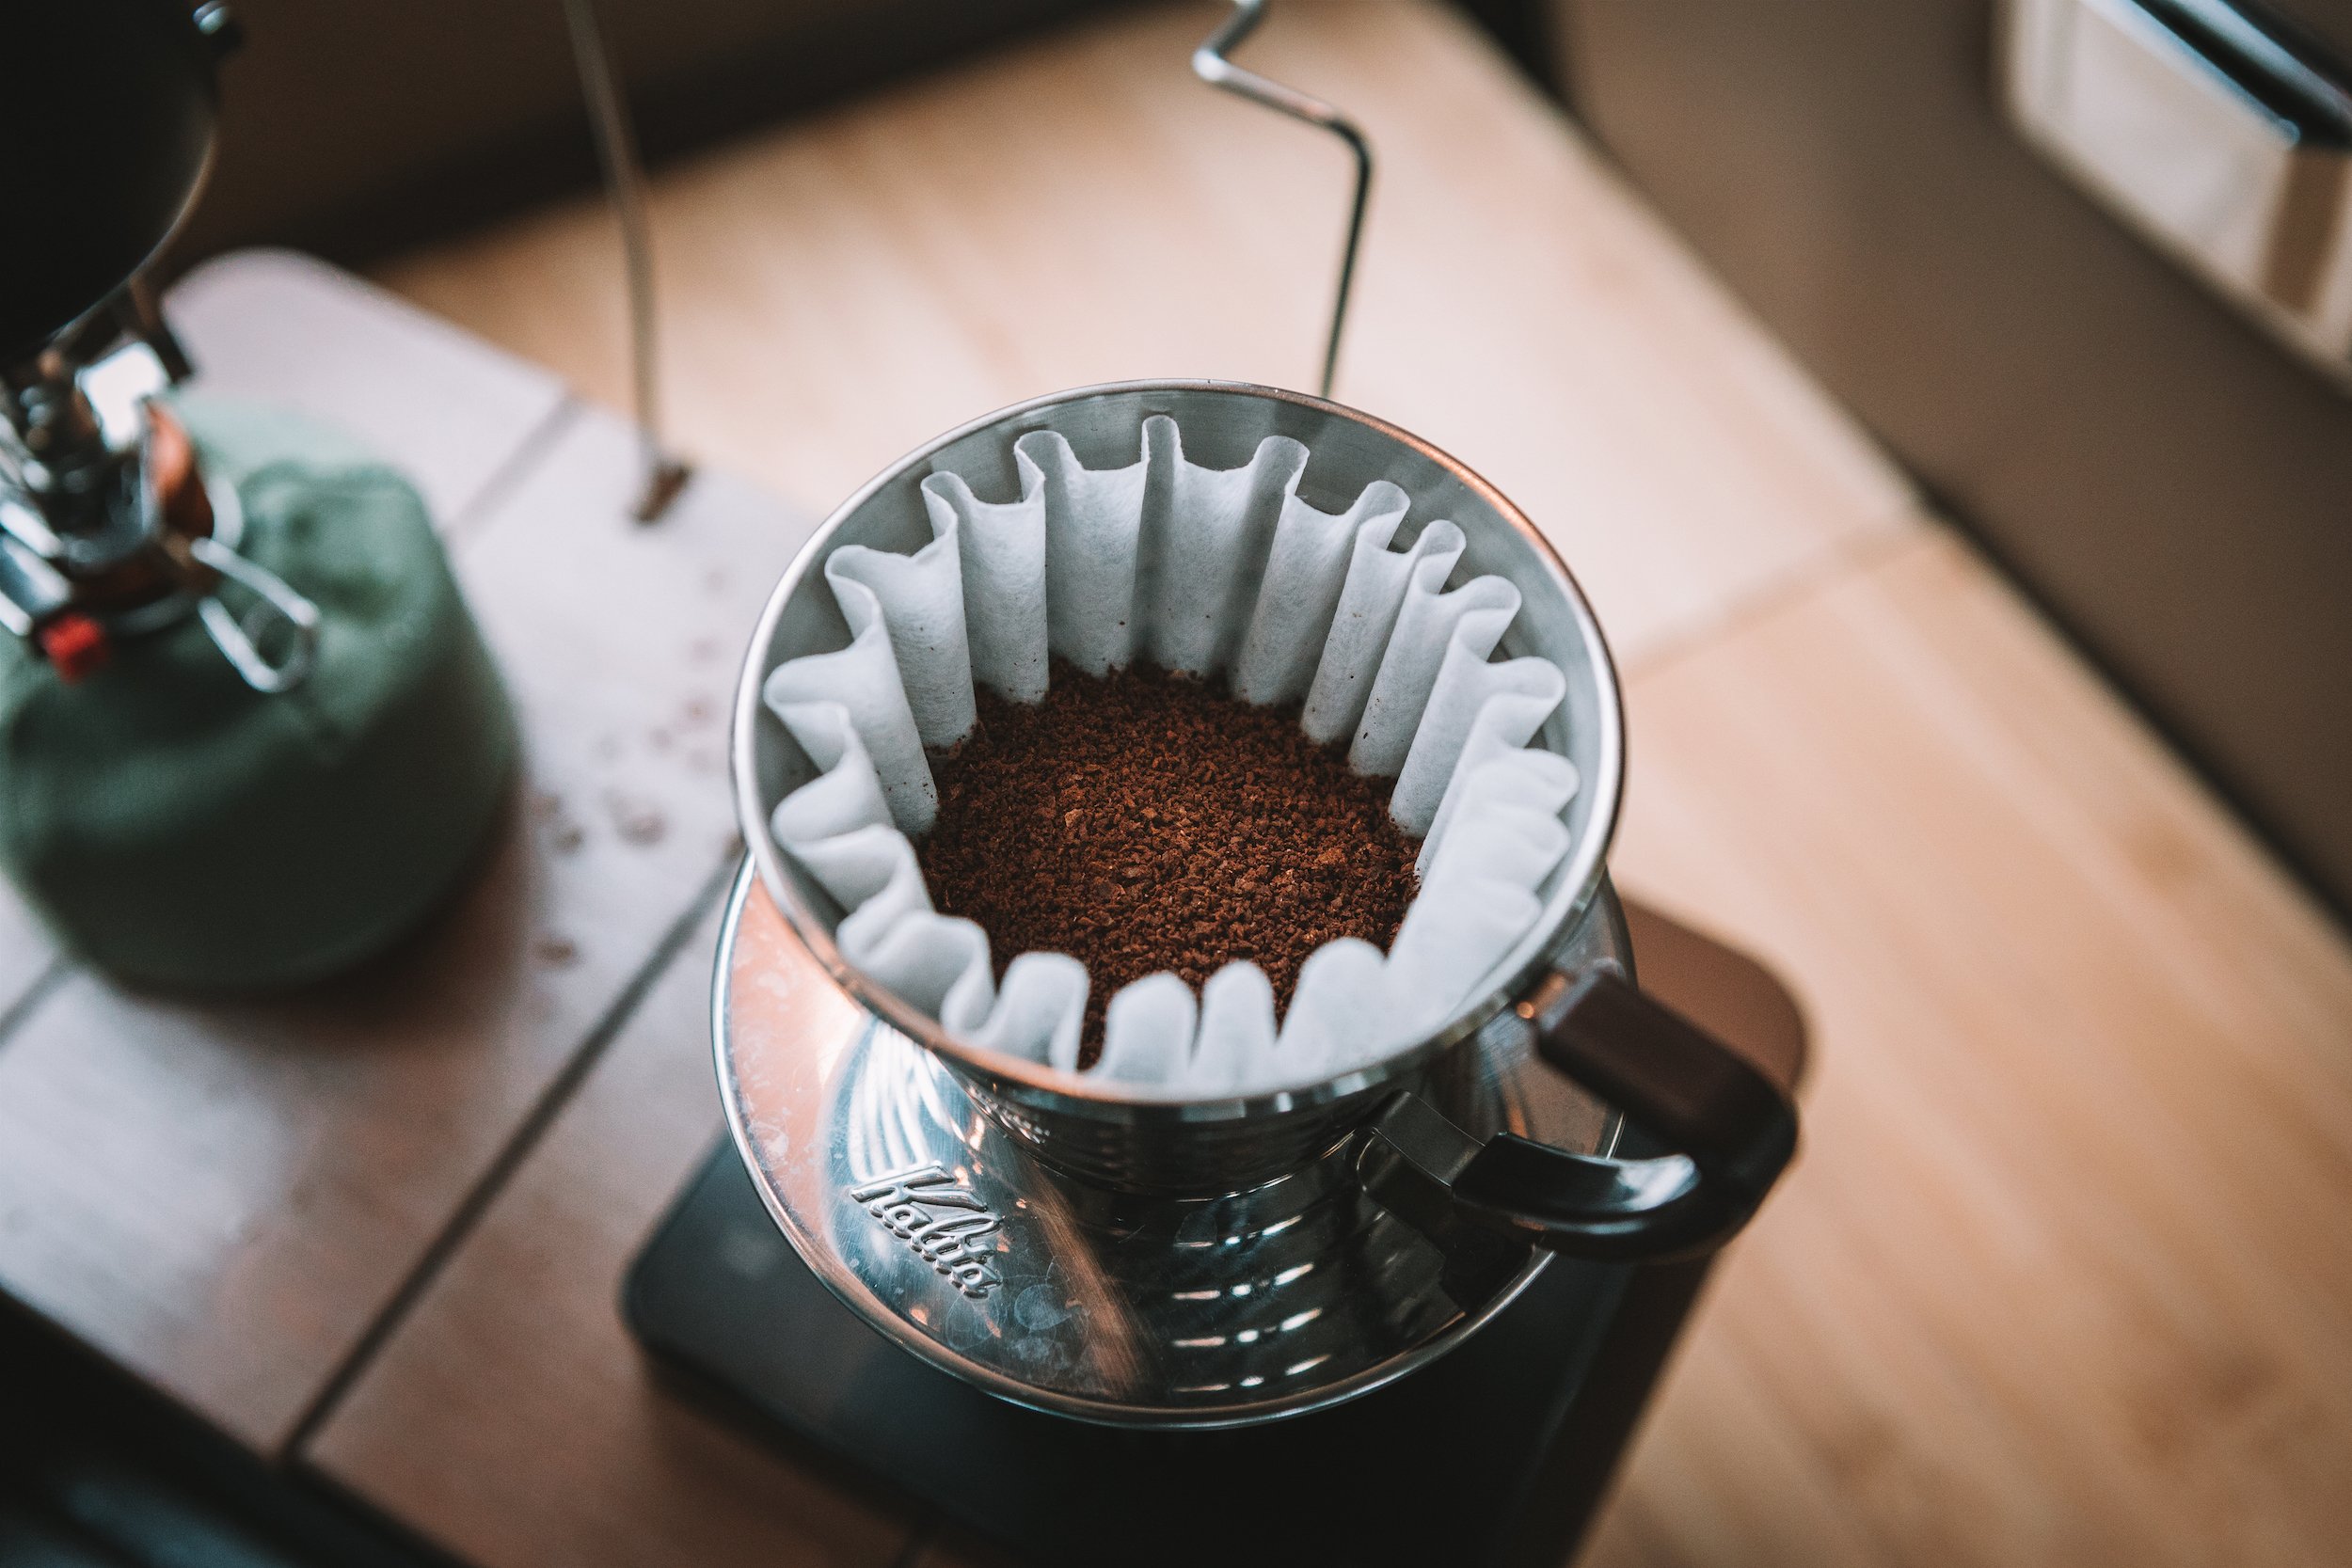
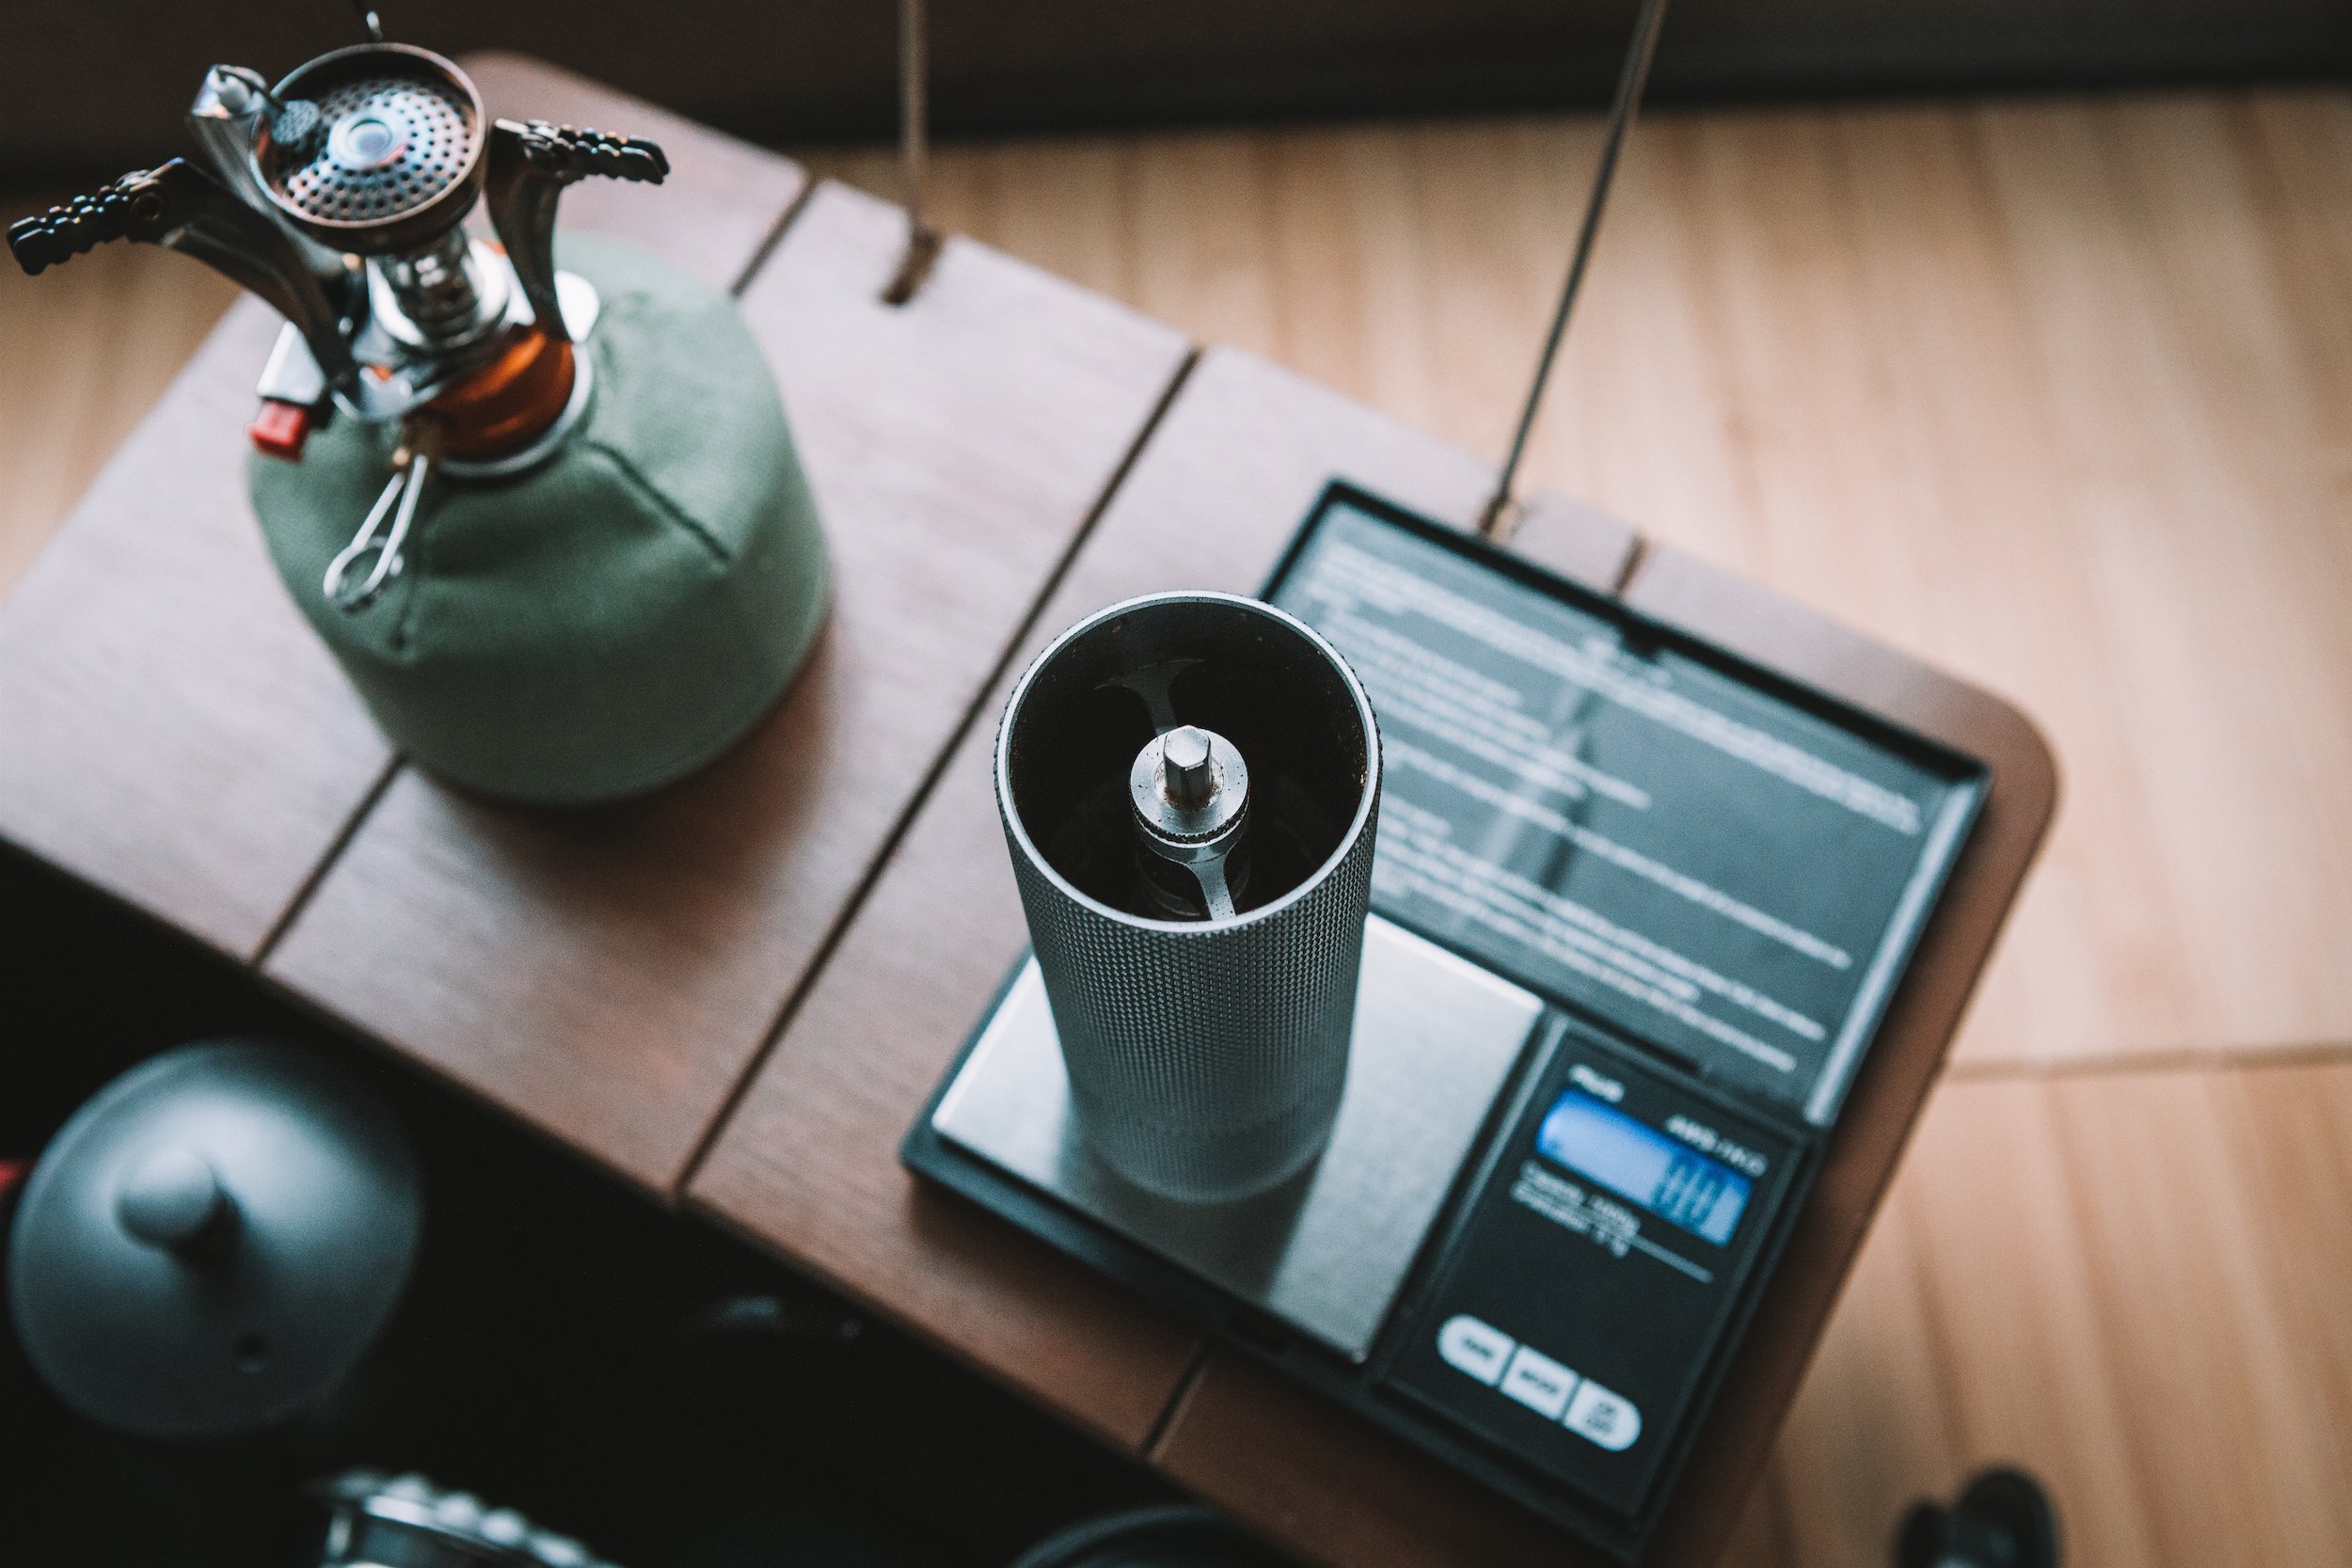
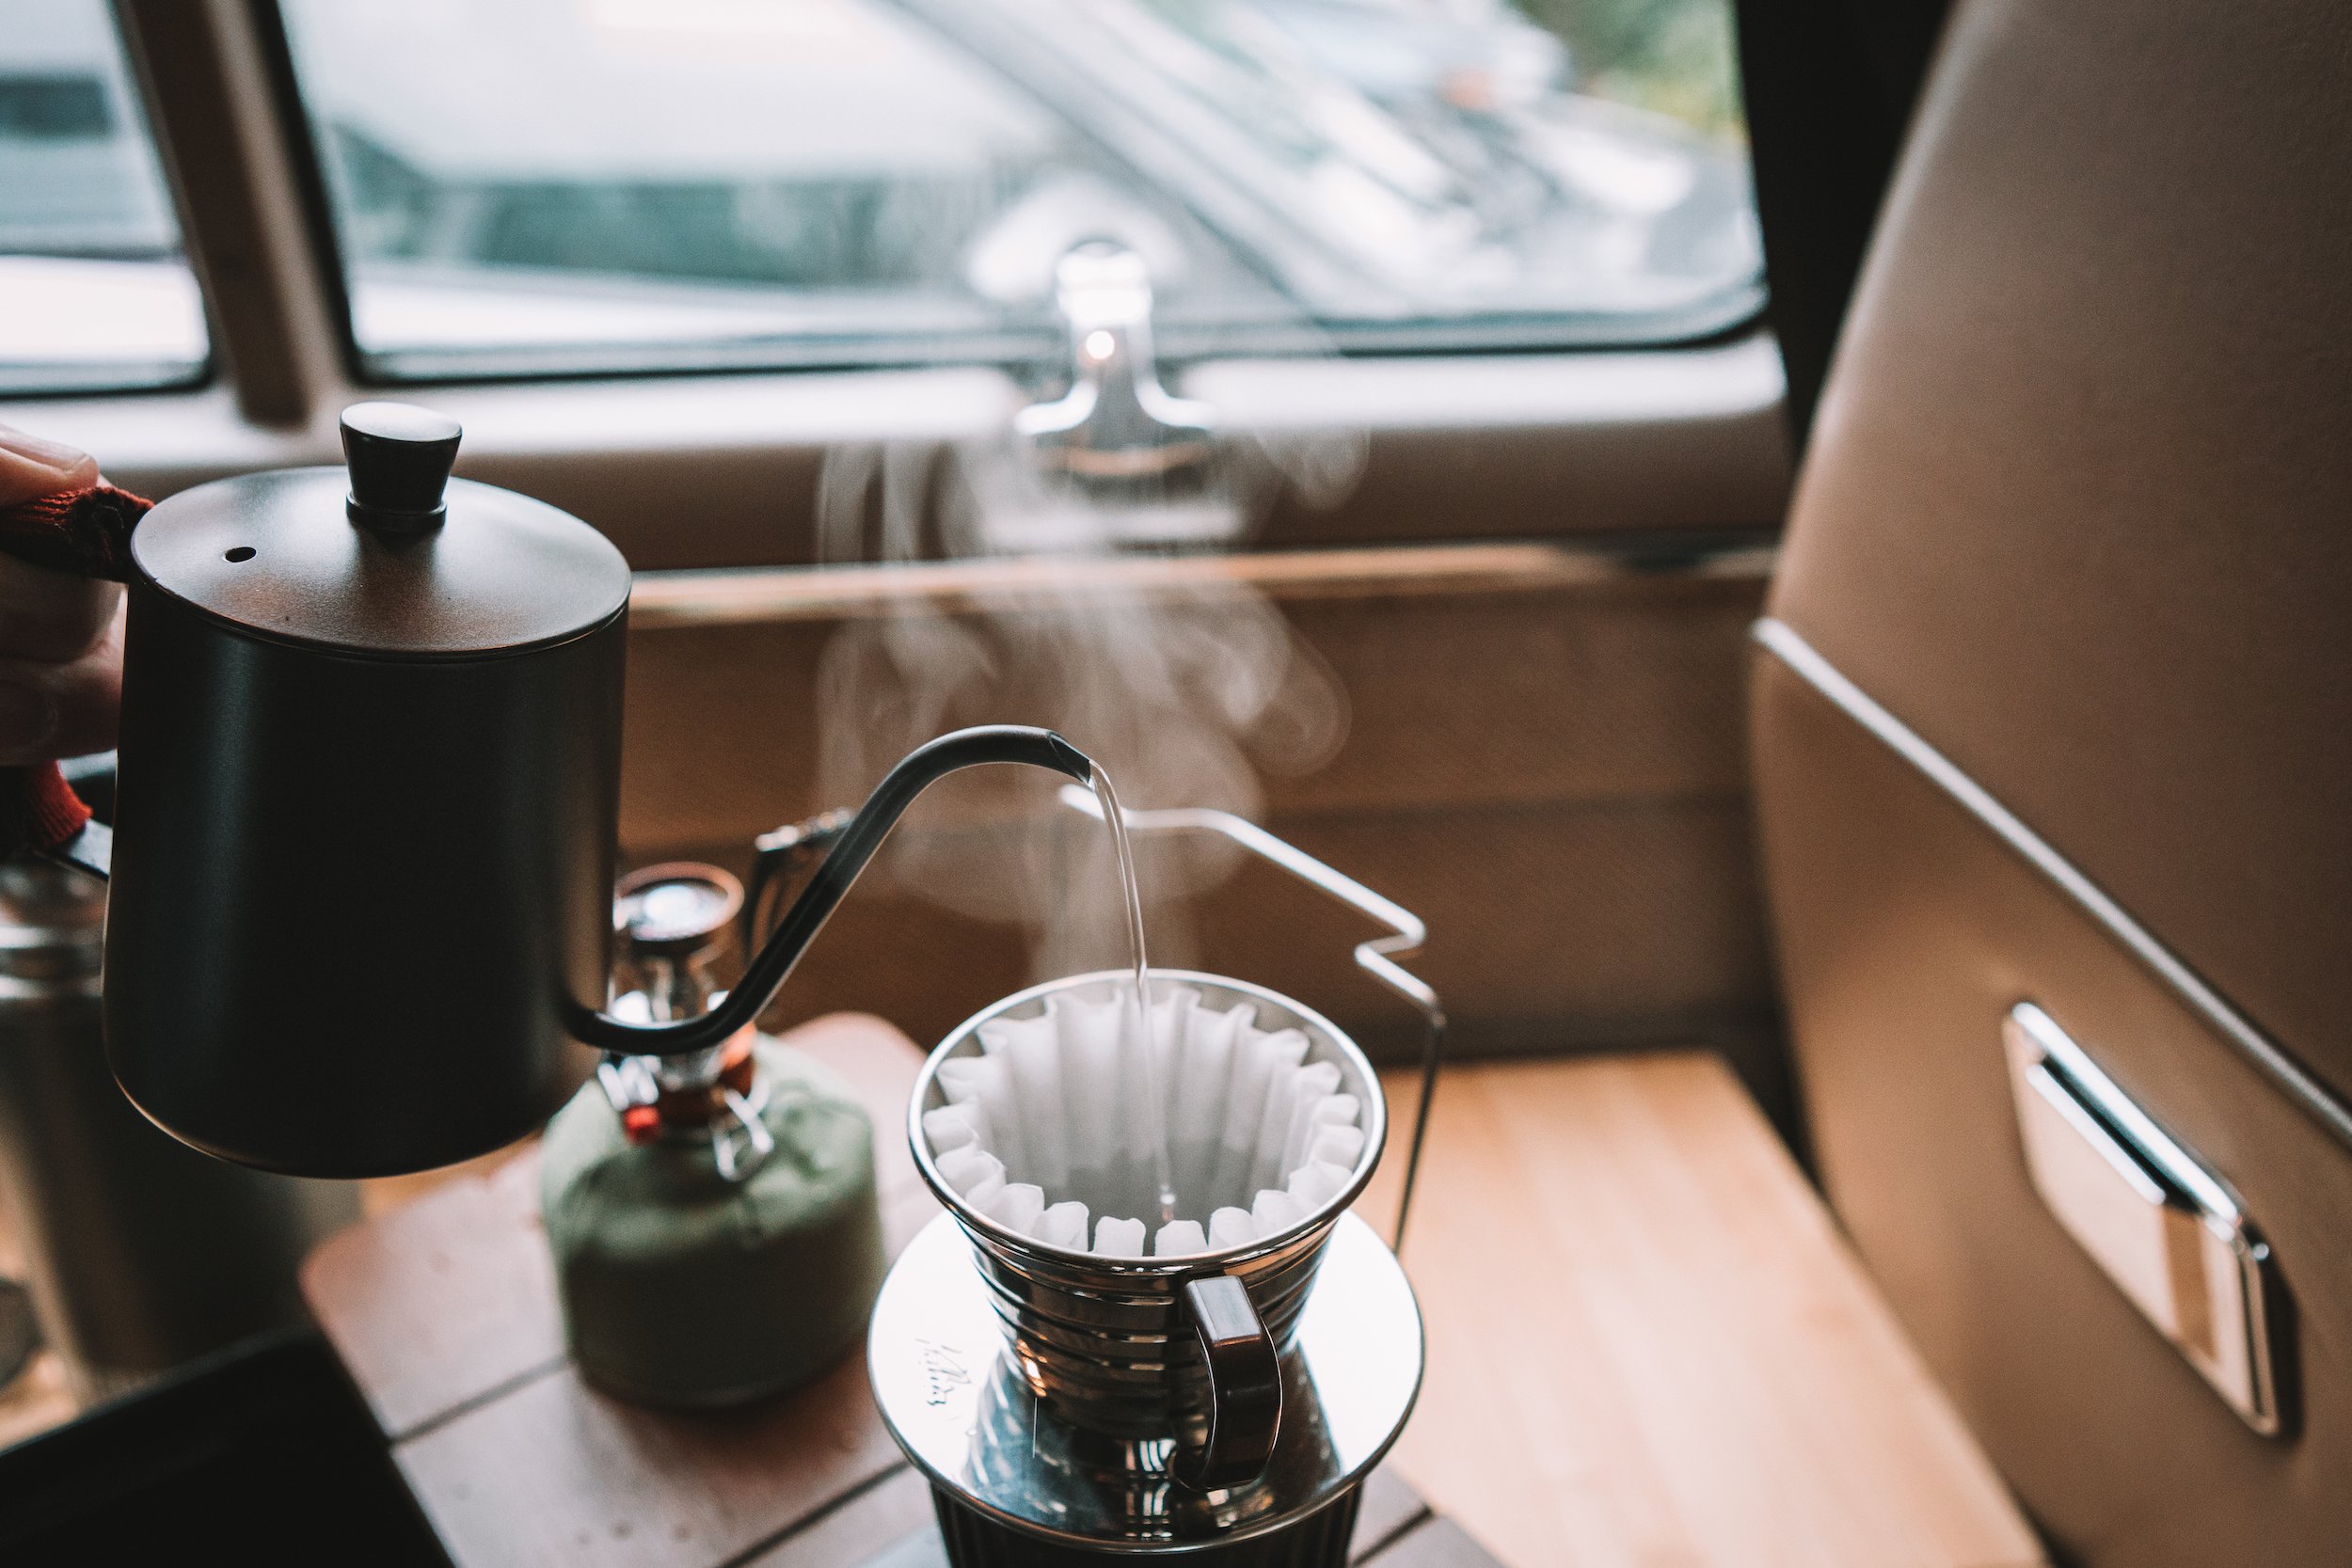
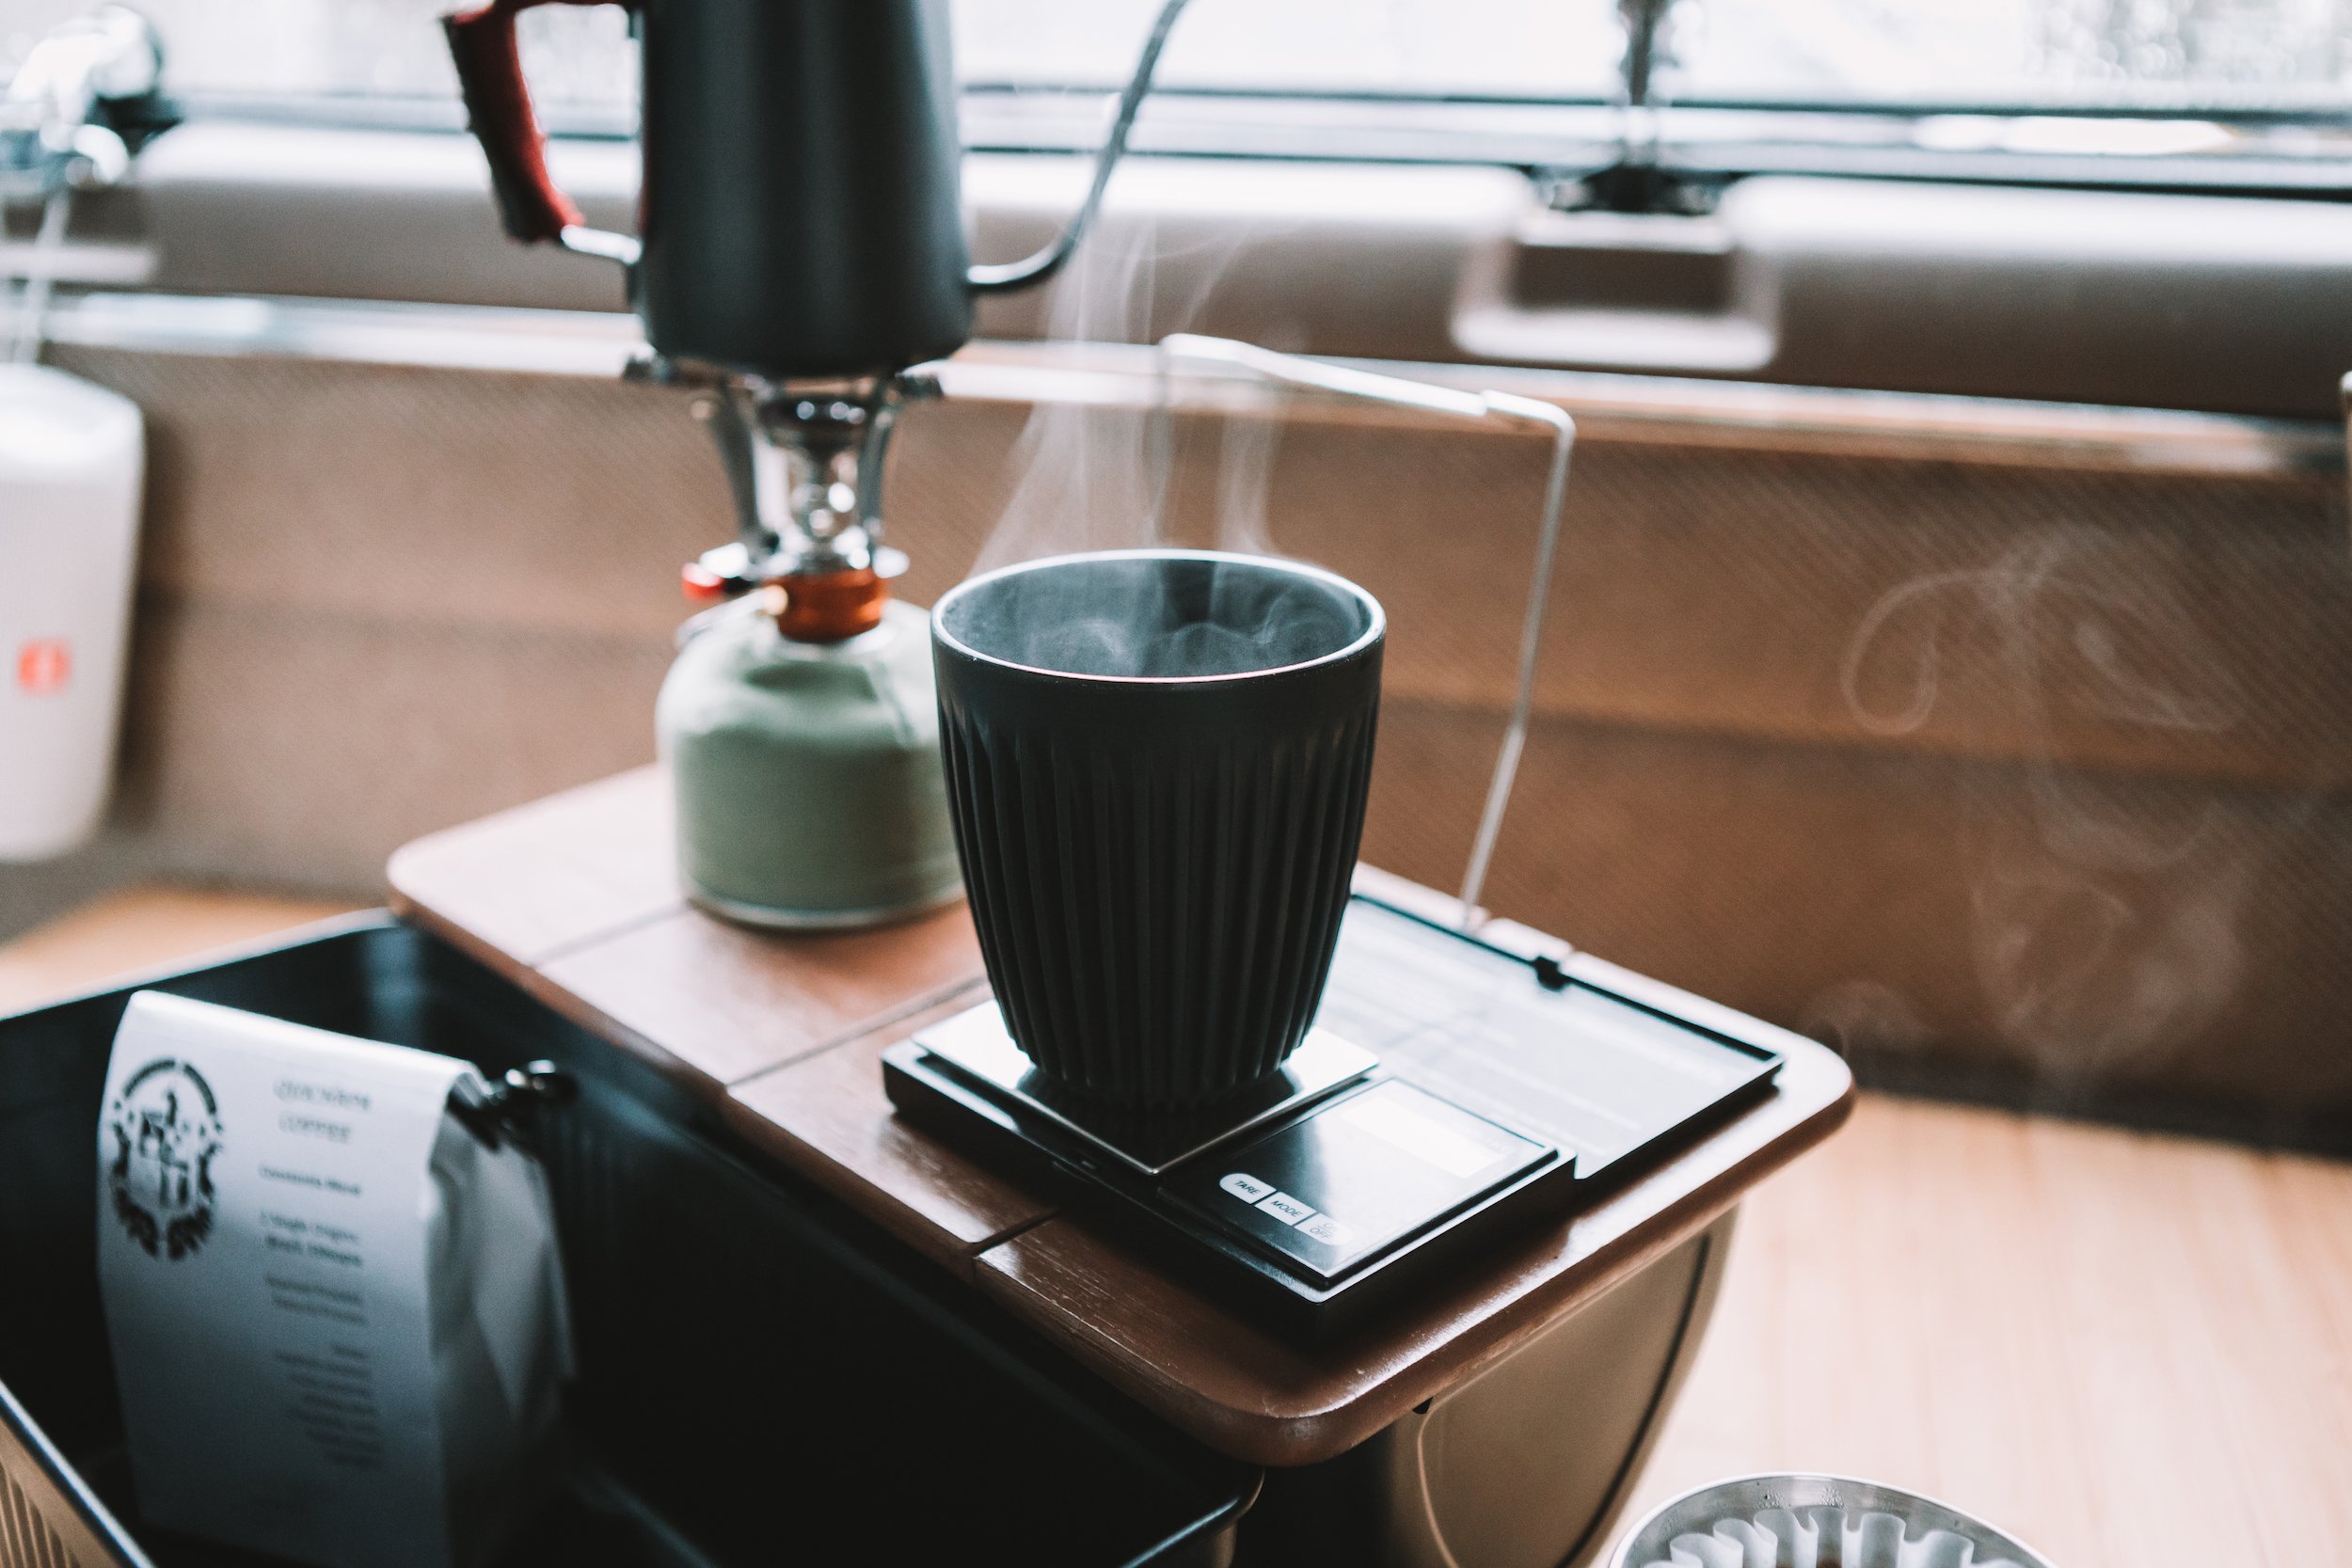
As you can see from the photos, it works pretty well! Rather than brew into a carafe, to make everything fit in the lunch box, I brew right into my 8oz Huskee cup. While I could’ve easily bought and assembled everything I needed, including the lunch box, for under $100, I did spend $120 on the hand grinder. I had had enough frustrations with cheap hand grinders that take 3-5 minutes to grind 15g of coffee.
Now, whenever I have a camping trip where I’m sleeping in Nacho, all I need to do is pack my Stanley lunch box, and I’m ready to go. It sure is handy, and with the wooden platform, you can brew coffee nearly anywhere.